Art process – Part 1
It’s time to look at the process and journey we have taken to develop the art so far for Goblins of Elderstone. Please note that we are not even in Alpha yet and everything is still very much WORK IN PROGRESS – we have a long way to go still 😉
It all started almost a year ago with a concept render I did in Blender and we are now finally getting to a much more polished looked in engine in Unreal. I think I’m going to break this up into 4 parts, focusing first on the general look and the environment art, then next time we will go through the buildings evolution. After that we’ll talk about the process for the goblins and creatures and finally we’ll show the path we took with the UI.
Part 1 – Environment and general look
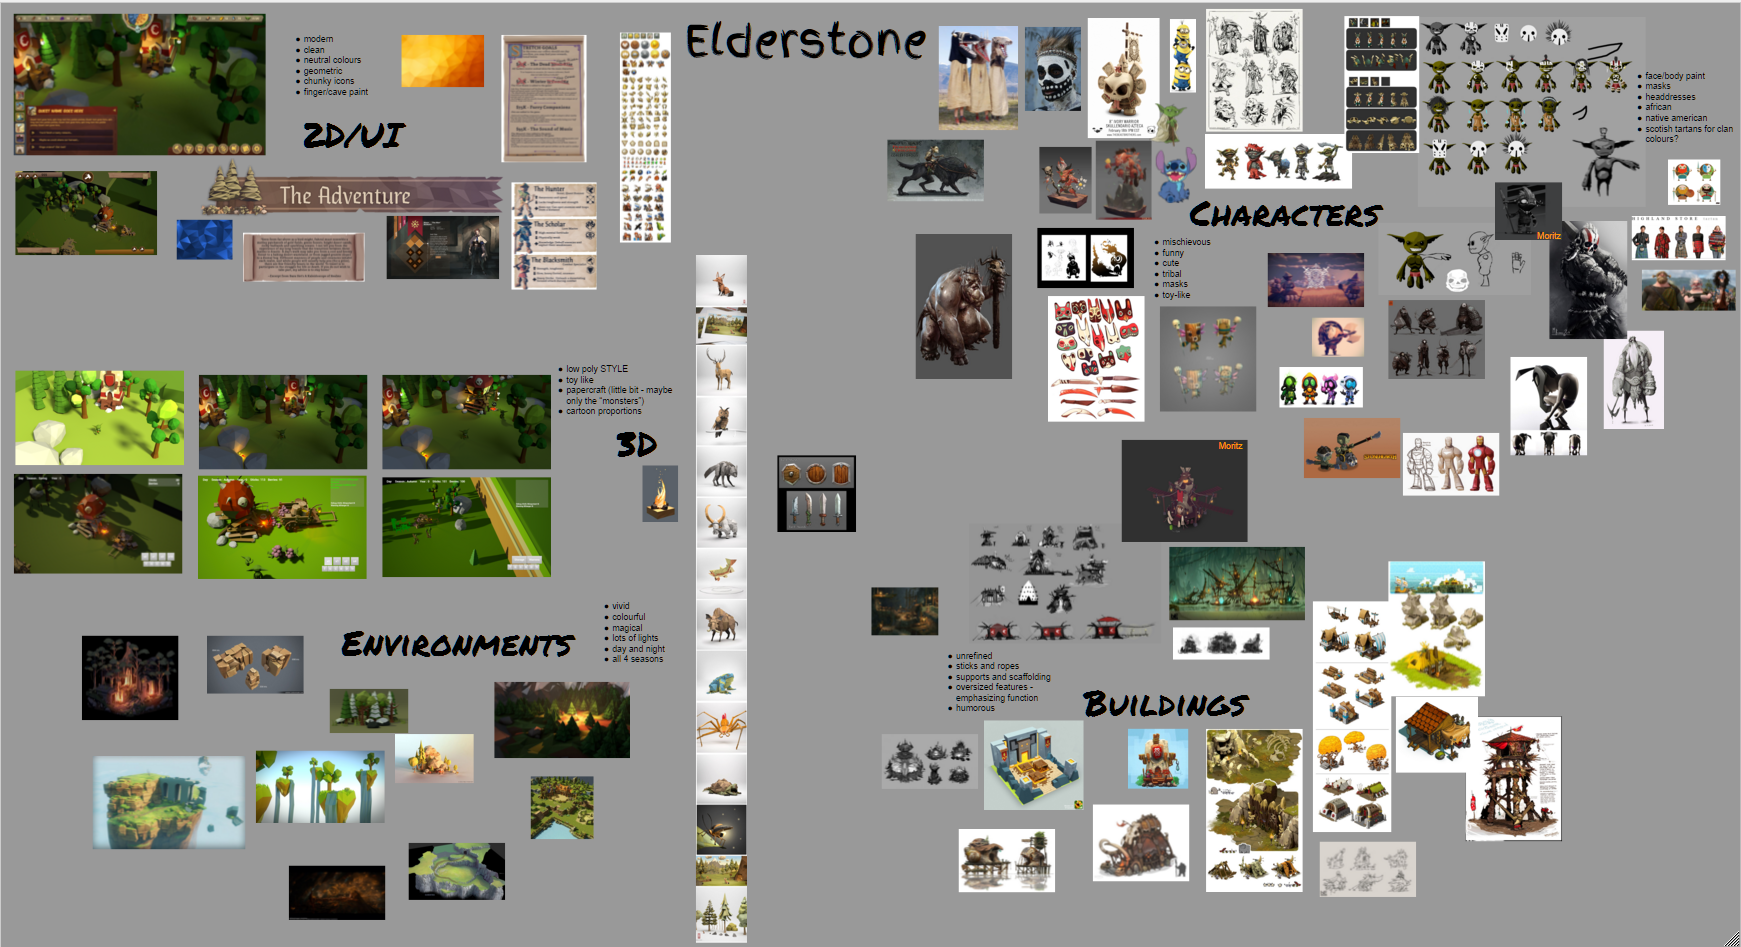
First off let me show some images that were inspirations and references for what I wanted to make and what we wanted to emulate artistically. The first thing I did was build several boards on pinterest with all my favourite images from games and concept art that I thought would be great reference for our game. I <3 pinterest. This proved to be invaluable later when we entered production as it was easy for me to share the boards with other team members to discuss concepts or ideas. I then also created a massive “art direction” board in Google Drawings with all the Key images from my own concepts, renders and references from images found on pinterest and google images. This was really useful as you can scale the board up to a ridiculous size and past all your images in full res and move them around as you need.
Looking at some of these a little closer and trying to name the references as best I can:
PigArt
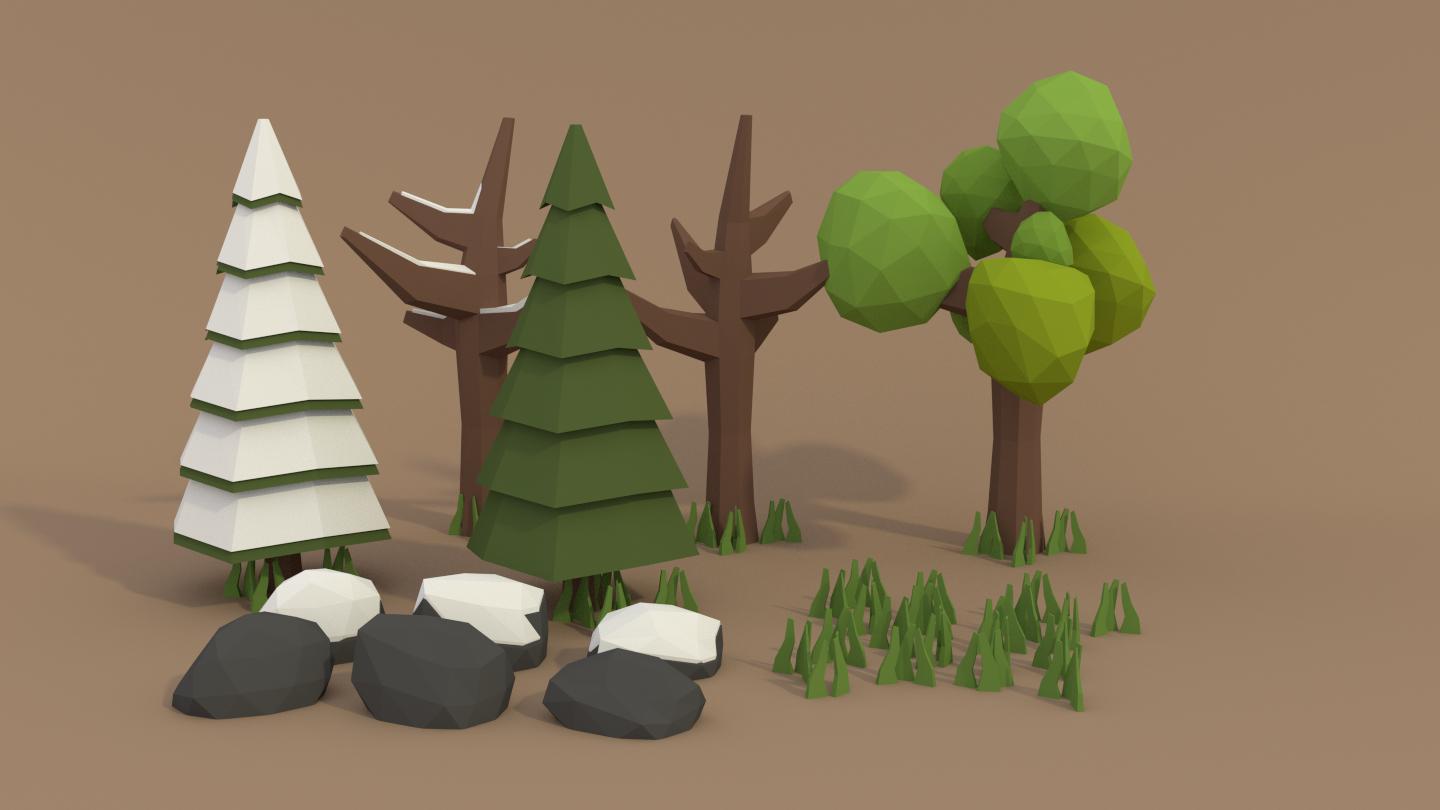
This is from a tutorial by PigArt, I found on Youtube for Low Poly modeling and has been the foundation of all our vegetation and rocks etc.
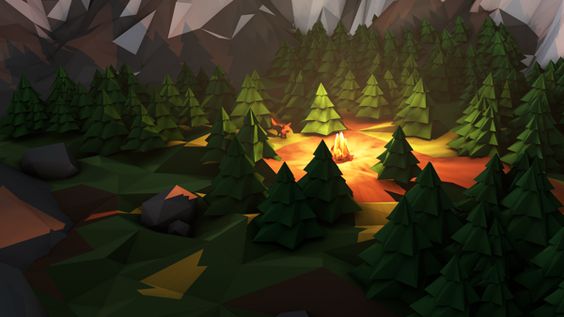
There is a lot of great low poly art out there but in terms of colour there are 2 images I always keep coming back to and it’s these 2 (I don’t know who they belong to):
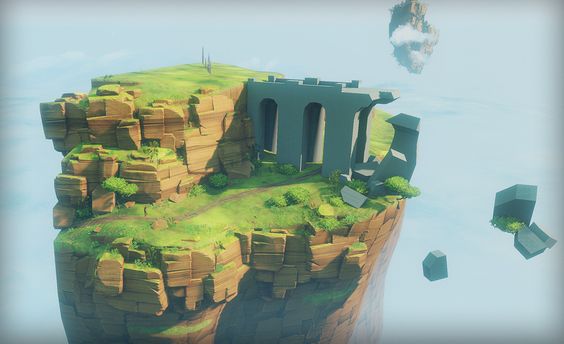
This was found on pinterest and comes from a polycount competition I think, I love the rock colour and the greens.
The colours of these for day and night are great. I believe this belongs to https://www.reddit.com/user/ManiacComet ? but was found on pinterest as well.

the mood of this at night is also so good
credit https://www.behance.net/timmychau
And at some point I discovered this increadible art from https://milanvasek.artstation.com/
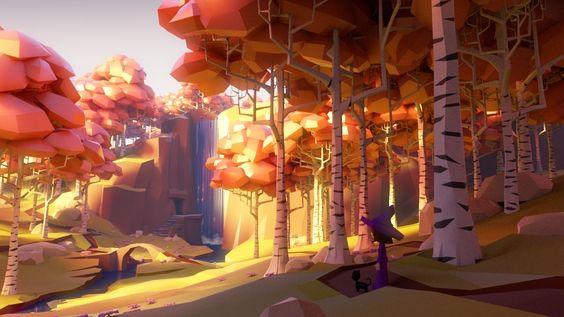
I would later use his beautiful birch trees as a reference for my own.
Some of the games that have been an inspiration to the art style as well as the gameplay are obvious, but for this post I only want to focus on the art, environment art specifically, will discuss gameplay and design another day:
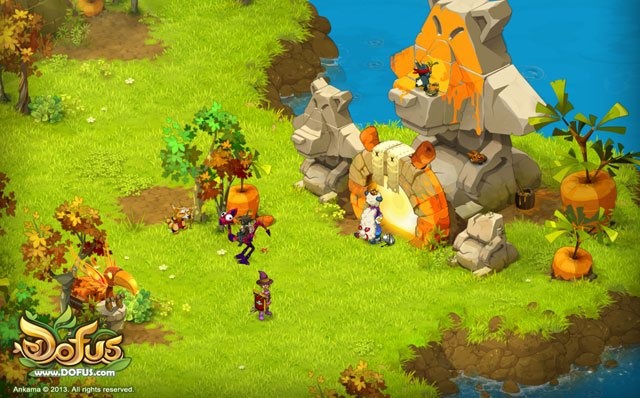
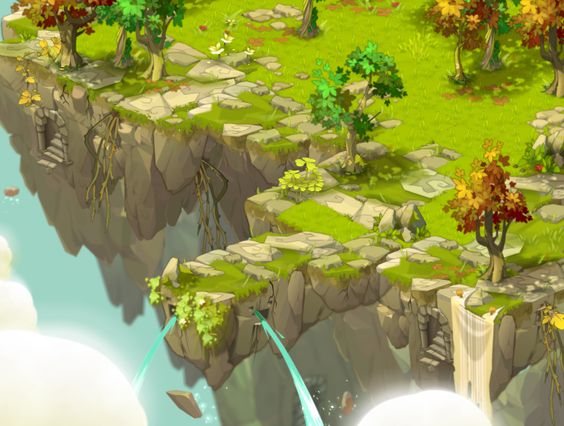
- Dofus/Wakfu – colours and cuteness, I’ve always loved the art and especially the colours in Dofus.
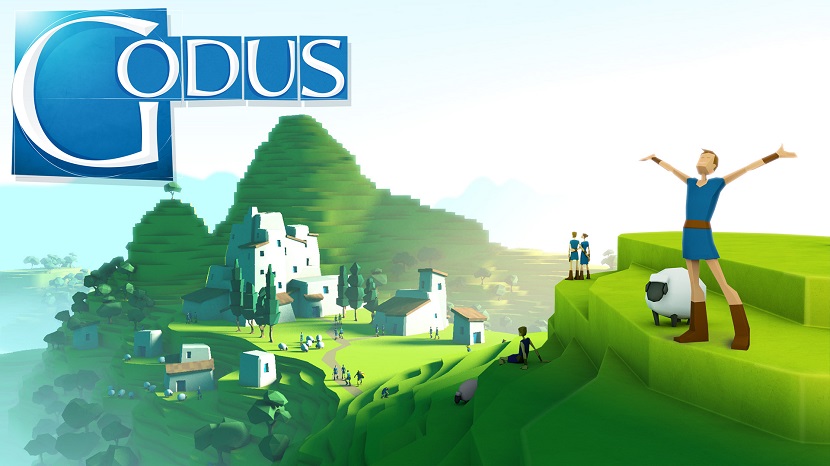
- Godus – simple design and colours, a lot of their concept/marketing art was really great (let’s not talk about the execution of the game…)
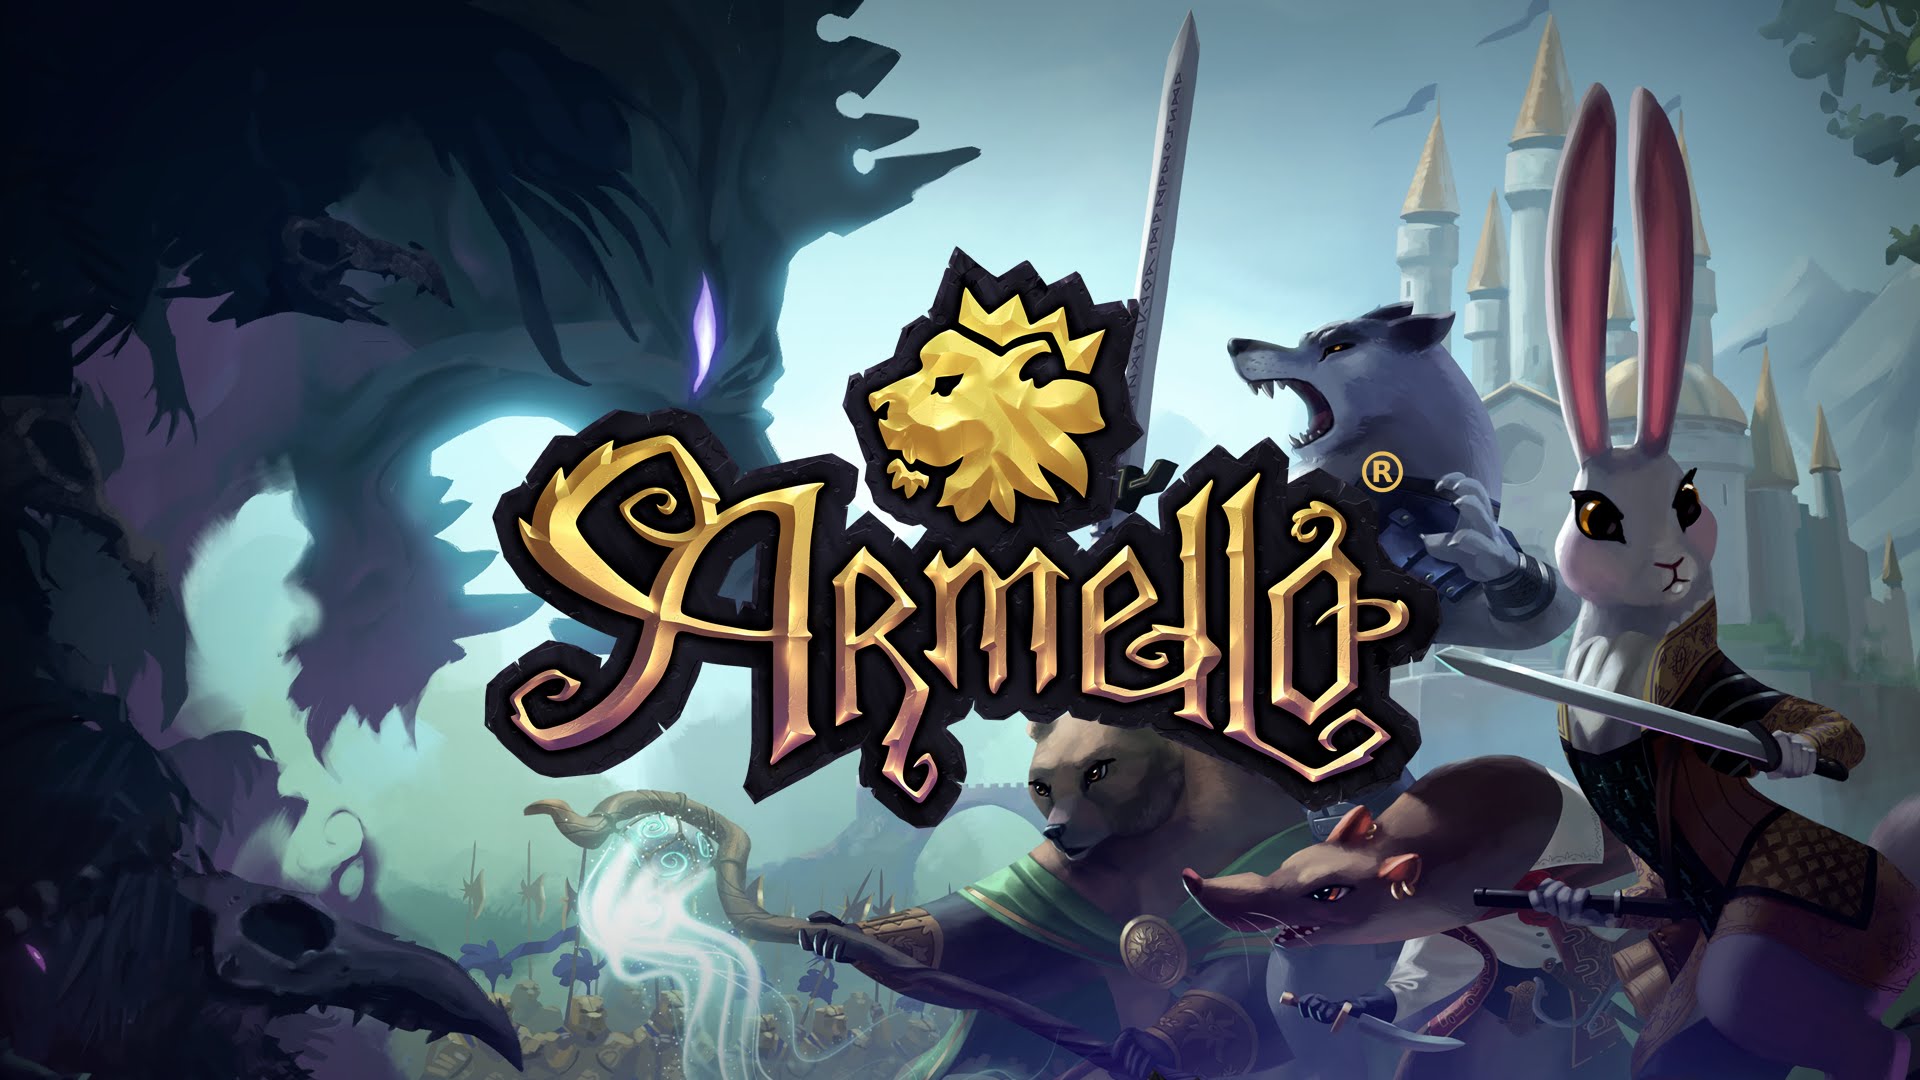
- Armello – disney feeling of fantasy and fable – what a beautiful game.
Of course there are many other games, movies and images that influenced me during the process and many games have been announced or released with a low poly art style now, but the above is a good concentration of what hit the right marks with me and are still references we go to.
So! – let me walk you through what we have done so far.
Original Concept Render and Target
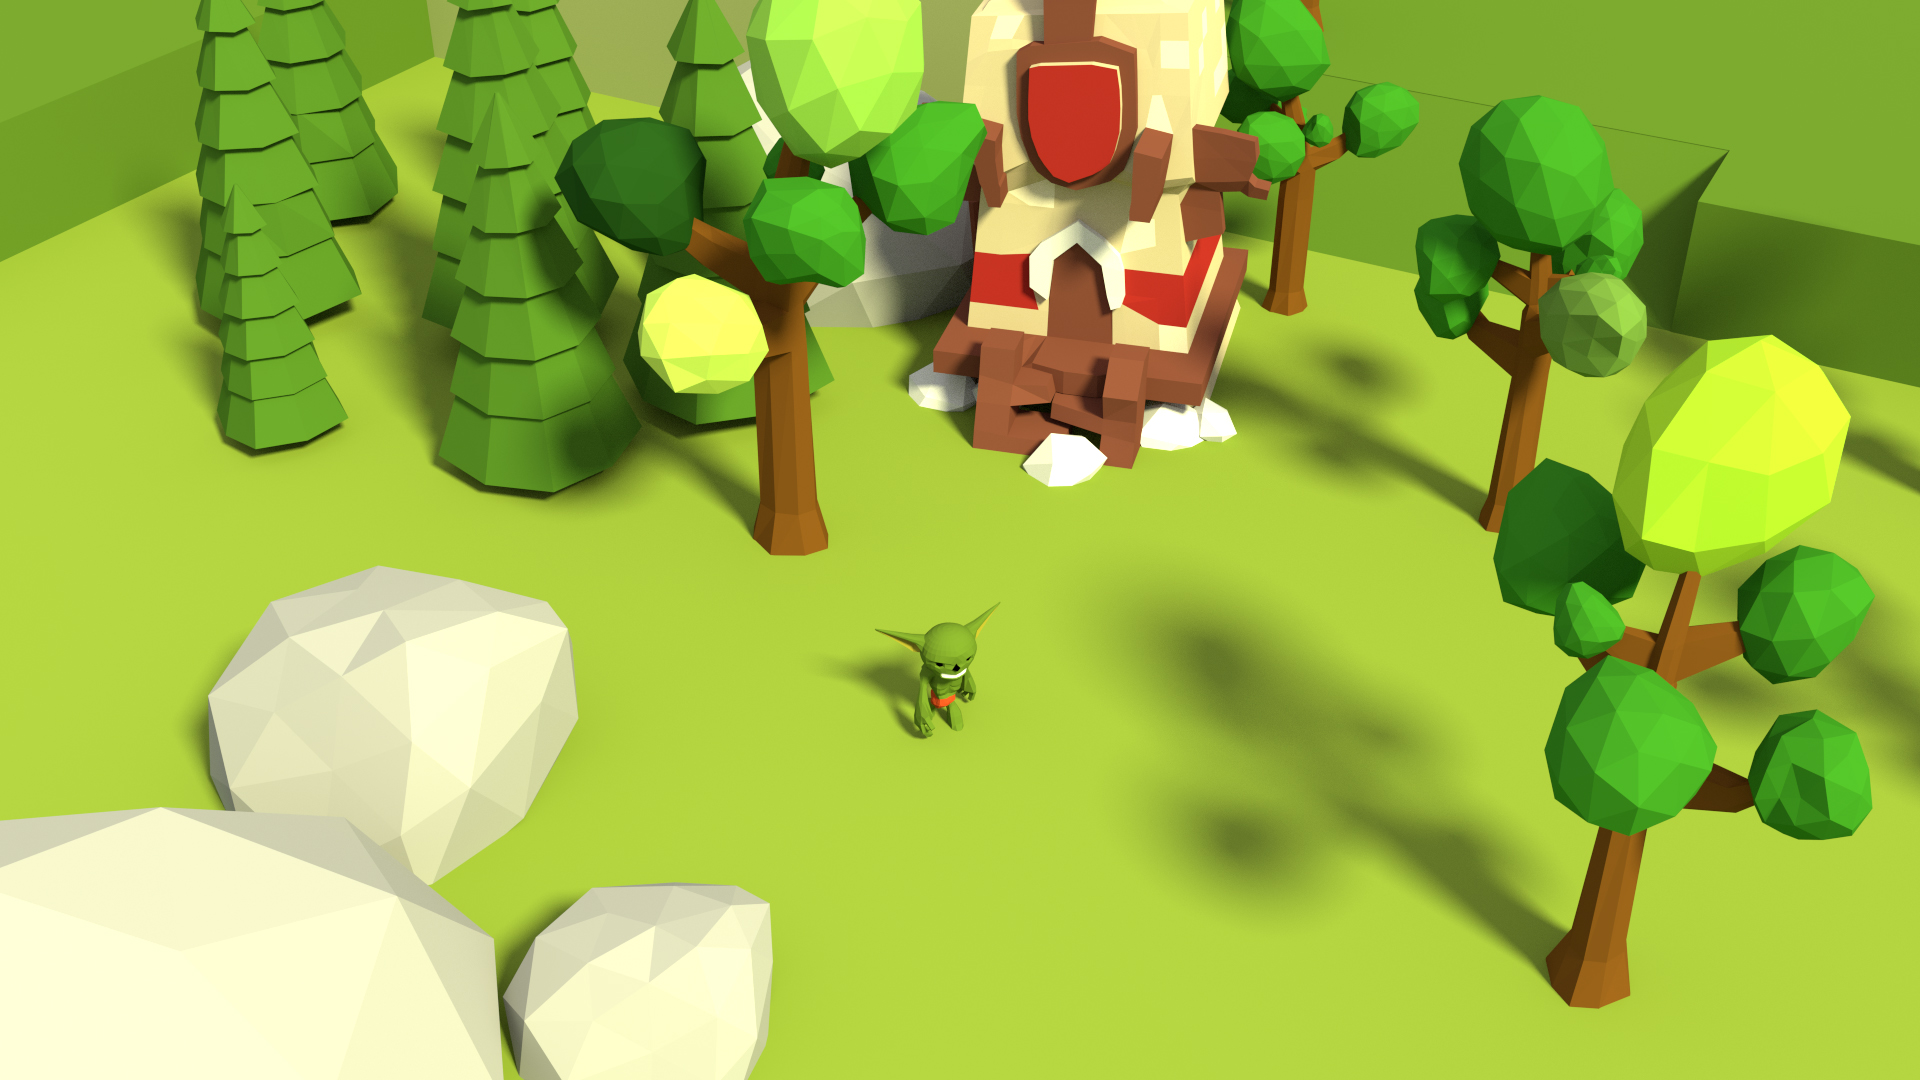 This was the very first render I did with some basic trees, rocks, a building built from a reference online (I’ll get into those in the building part of this post) and my gobo. The world at this stage was 3 boxes.
Night time with lights
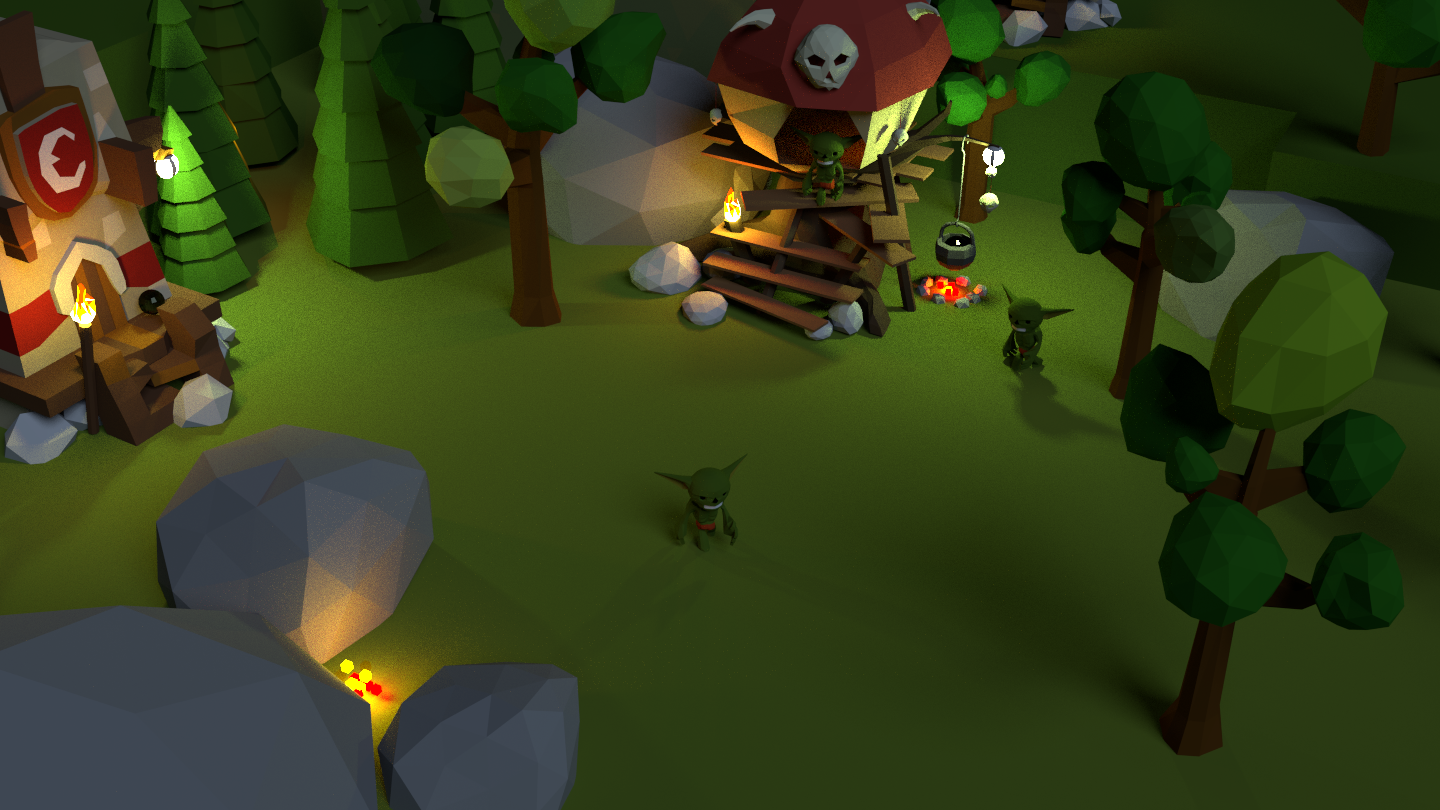
After some more experiments with lights and a few new assets. I knew I wanted to make the art with vertex painted assets and only doing textures where finer detail was required. I love the idea that the game should make you think of a toy world
When we went into pre-production and added our amazing talented artist @MomoSchli we developed the target render further with some of our first building assets, lots of lights and several concept ideas for the environment. (this was also our first reveal of the logo and name for the game)
More assets and details for the website background.
With an art direction established we got to work on getting the game looking like our concept renders.
This was the first set of assets I made (from the original concepts) placed in Unreal with default lighting and materials.
I knew we had a lot of work to do :/
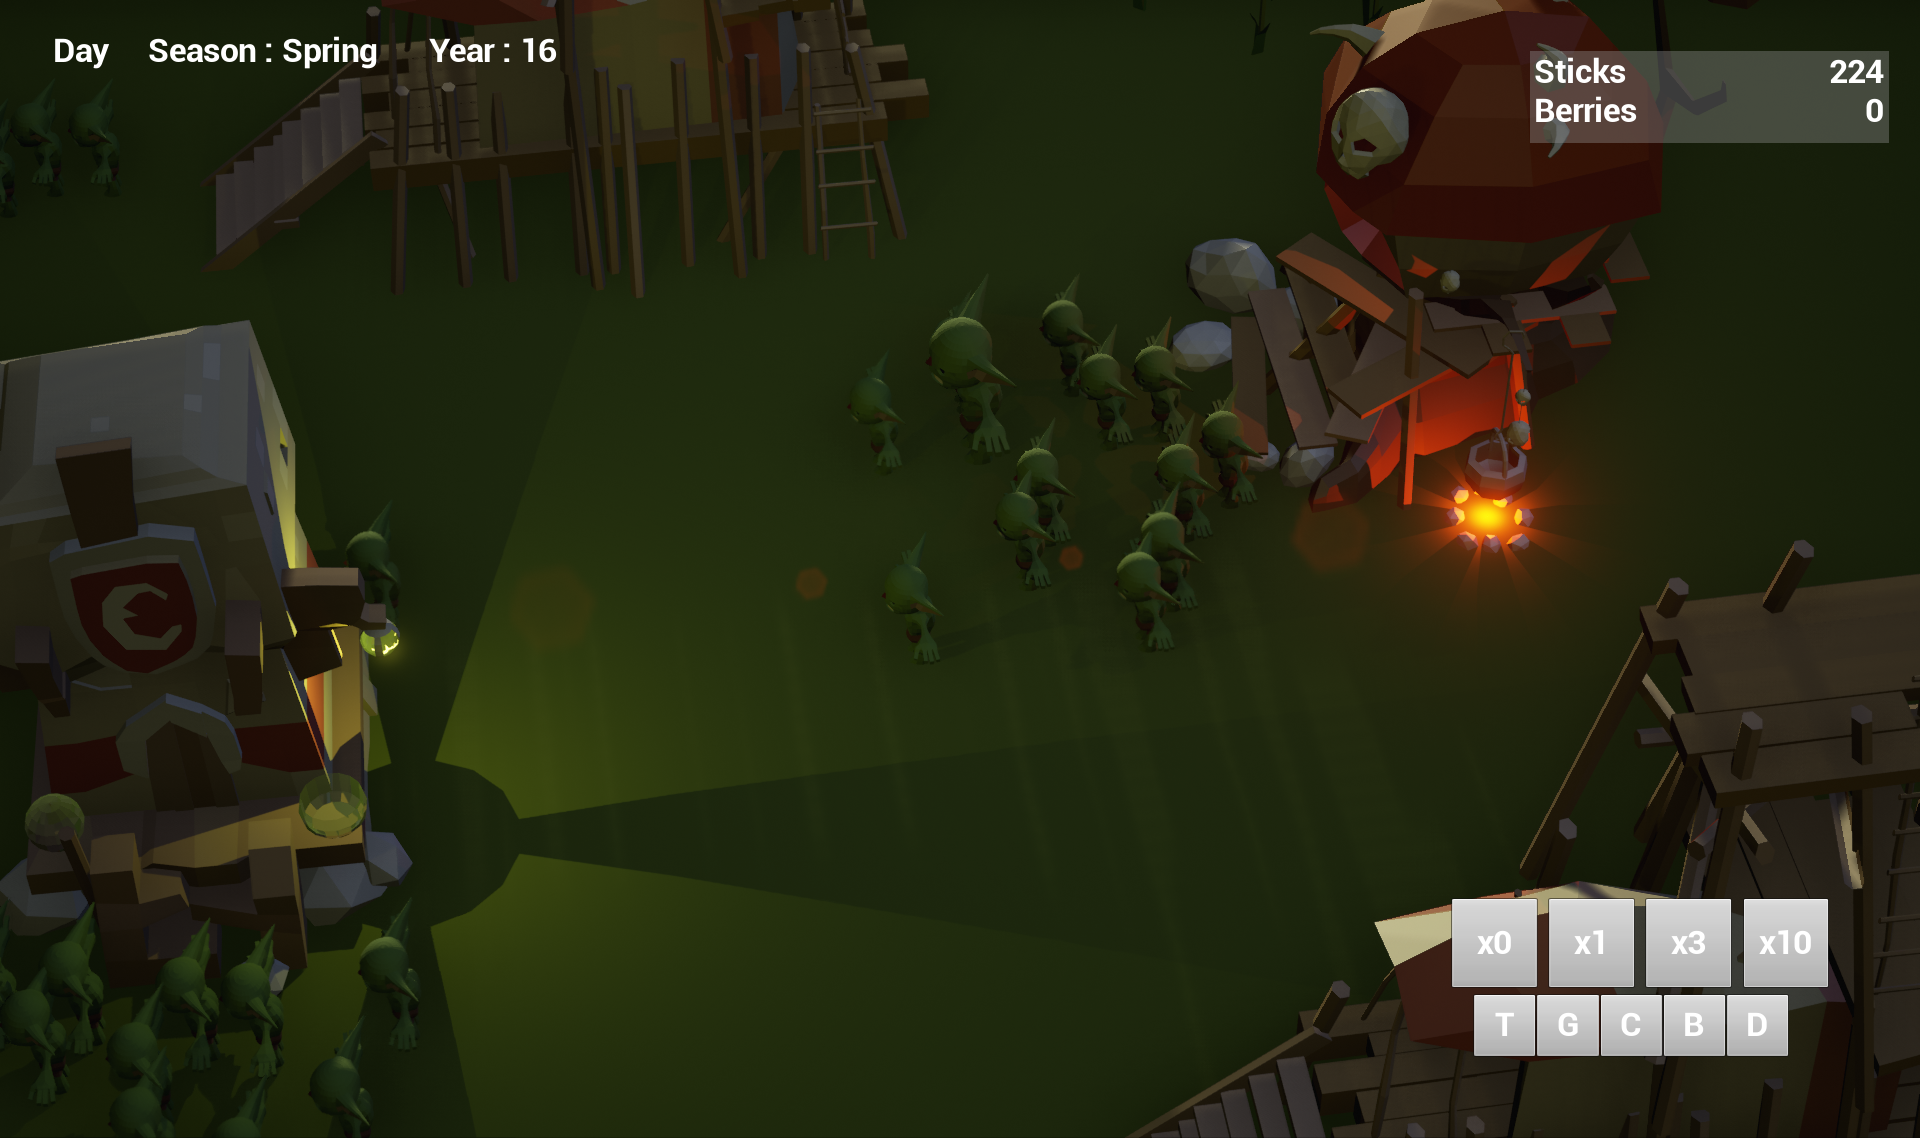
at night with a small horde of goblins. Early days…
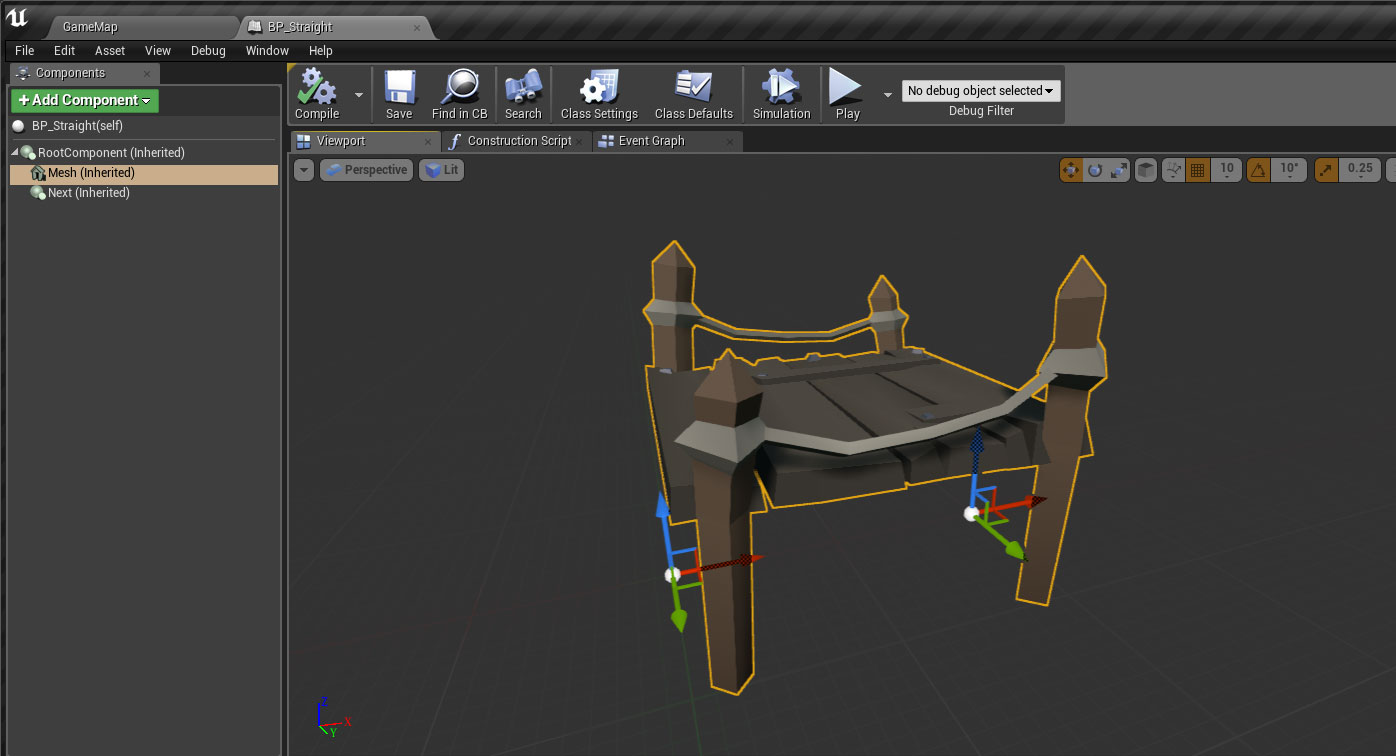
The Level
Production started and our 3D artist joined the team. He took on the production of the buildings and goblins and I focused on getting the world and environment looking right. After lots of improvements to the materials, lights and a post processing volume along with new assets for cliffs and trees I remade the test made we had been using:
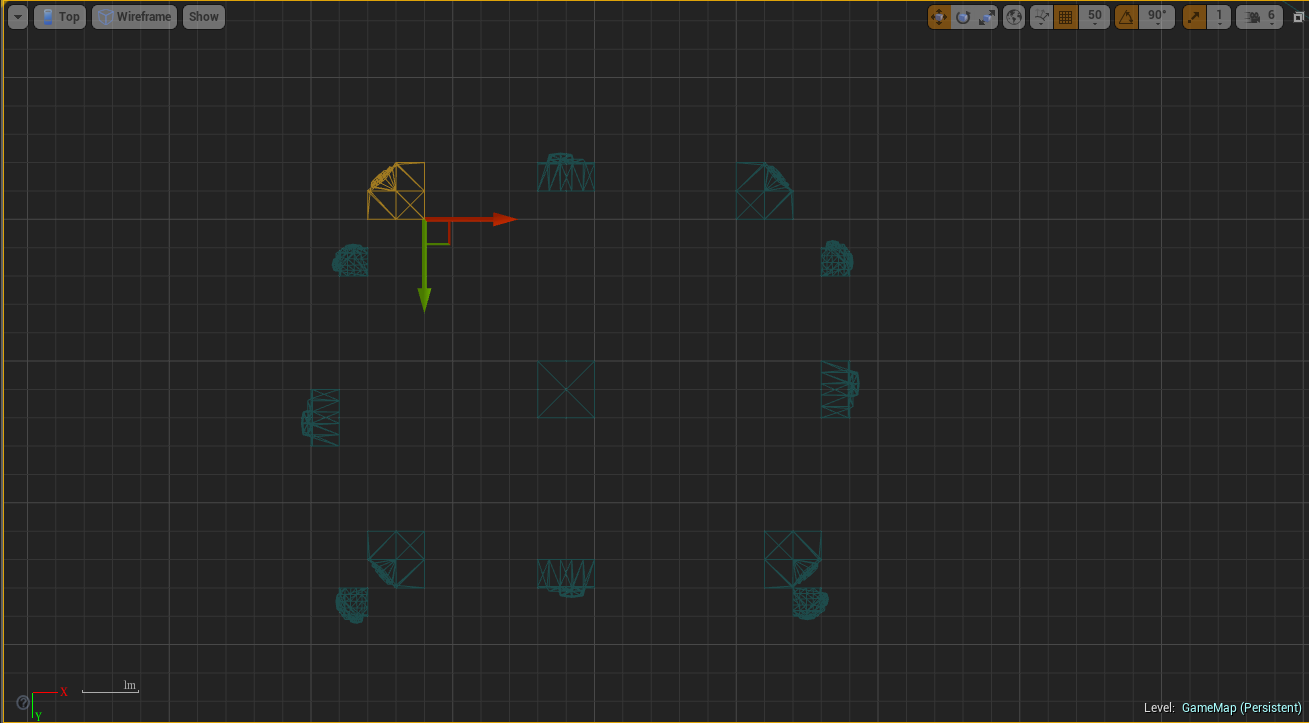
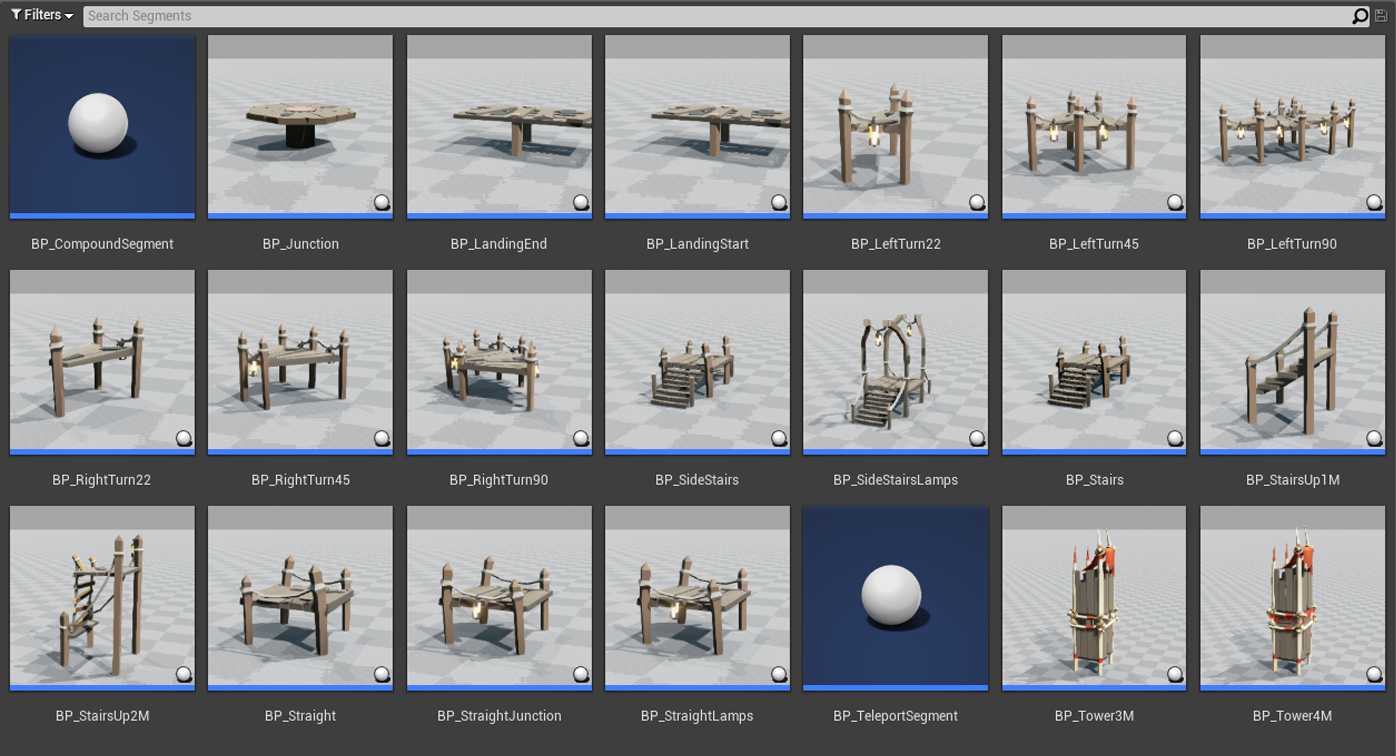
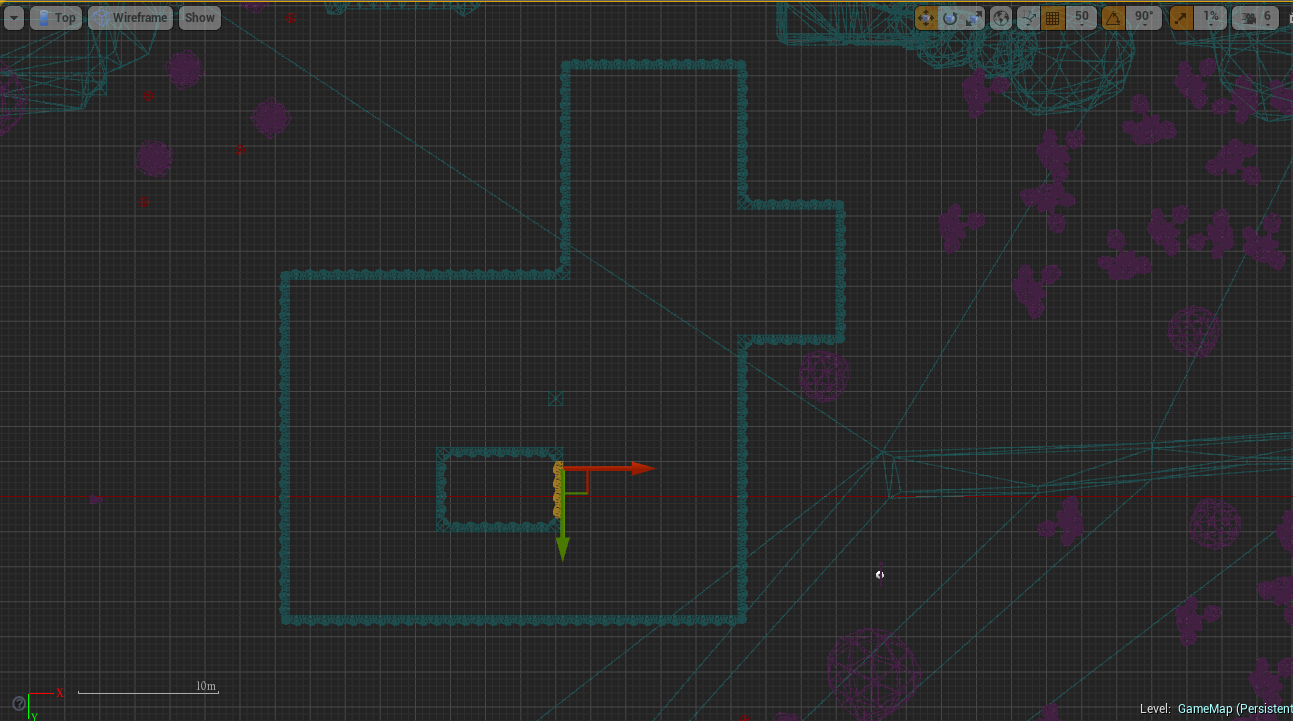
All the cliff pieces ready to be used to make the map (eventually we hope to procedurally generate the world with pieces like these)
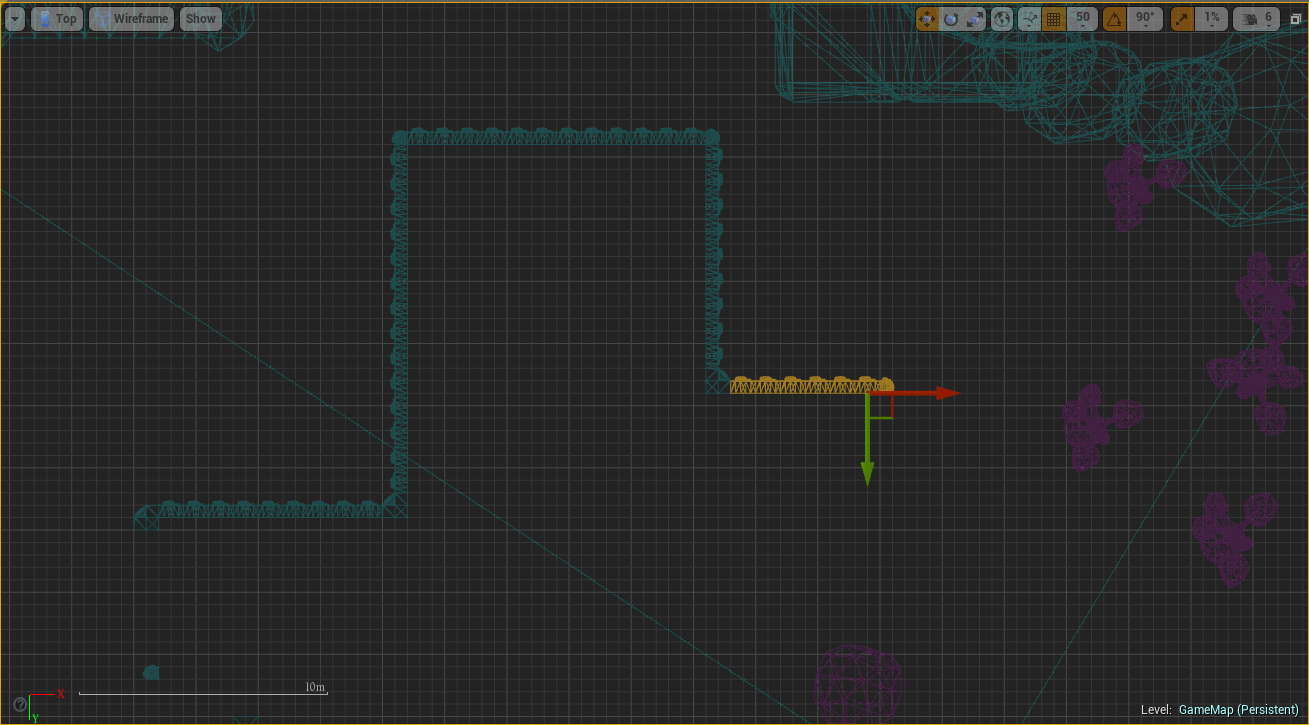
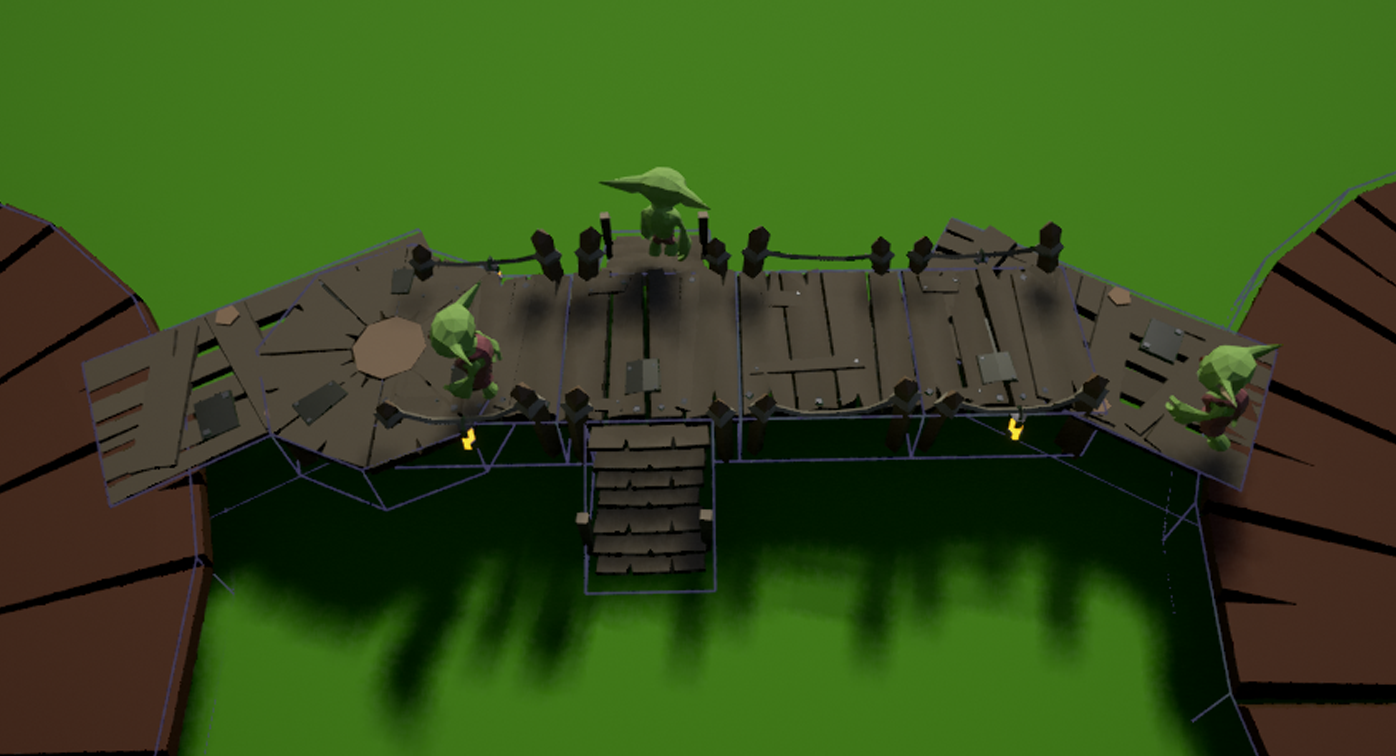
Building the level

tada!
TADAAA!!!
I was really happy with these results but we were nowhere near the fantastic magical look of our concepts or references. So more work to be done…
New trees and a night and day post processing volume:
more trees and different tests with water

argh… I thought this looked good at the time… looking at it now I just shake my head.
Starting fixing the colours
So there was a major problem we had with our colours. We just couldn’t get the in game colours to look the same as the colours in blender. We discovered that there is an issue with vertex painted assets when imported to Unreal. At first we repainted the assets in blender to be darker and more saturated, but obviously this wasn’t going to be viable solution, so we dug around a bit and finally found a solution.
sRGB colour fix
more info on a similar problem with the same solution here
Colour Grading
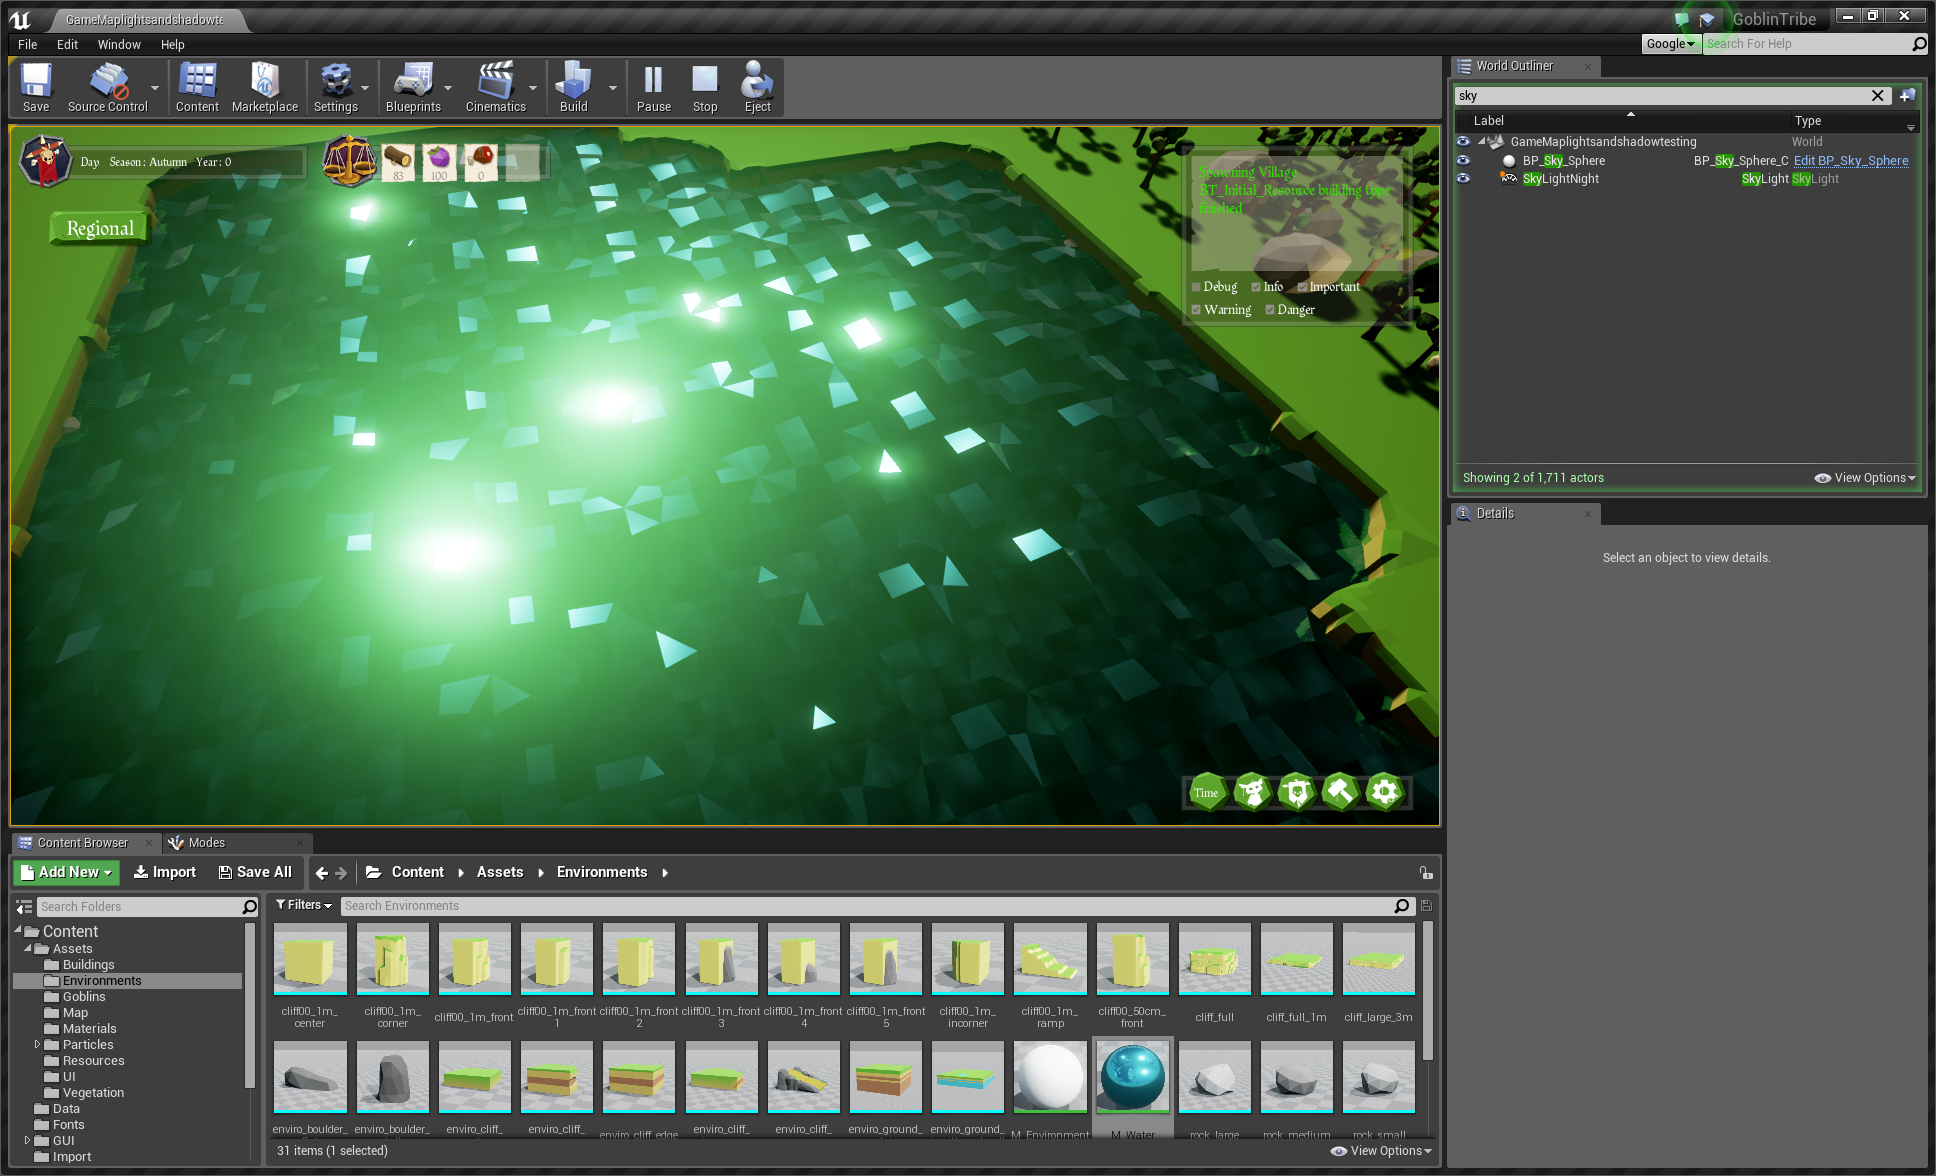
The next step, and the one that makes the biggest visual difference by far, is colour grading using a Look Up Table (LUT) reference in the post processing volume.
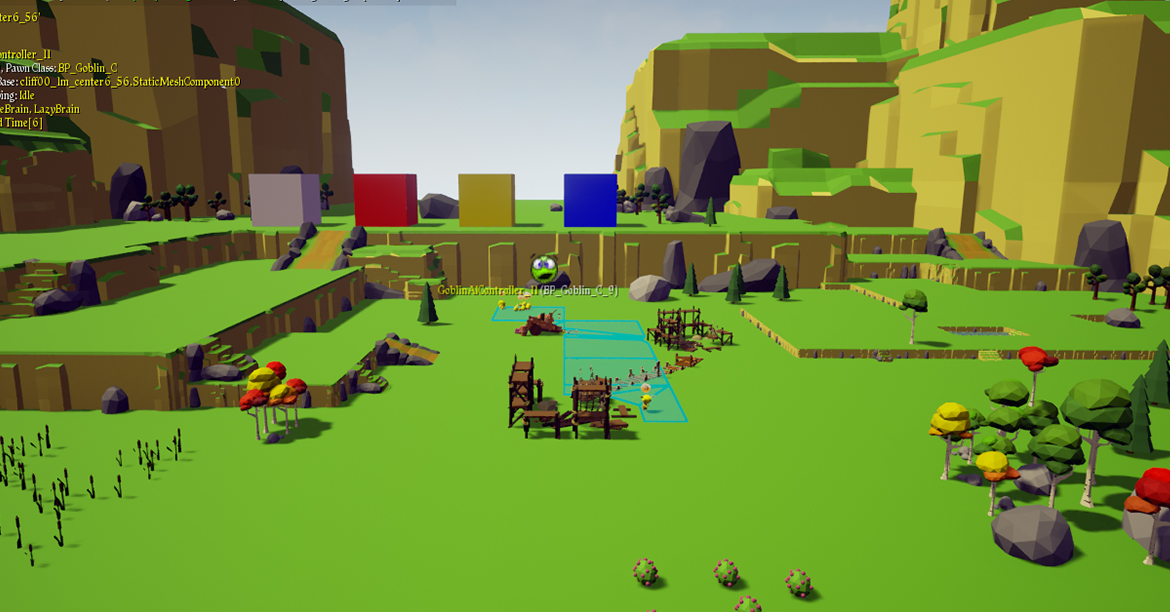
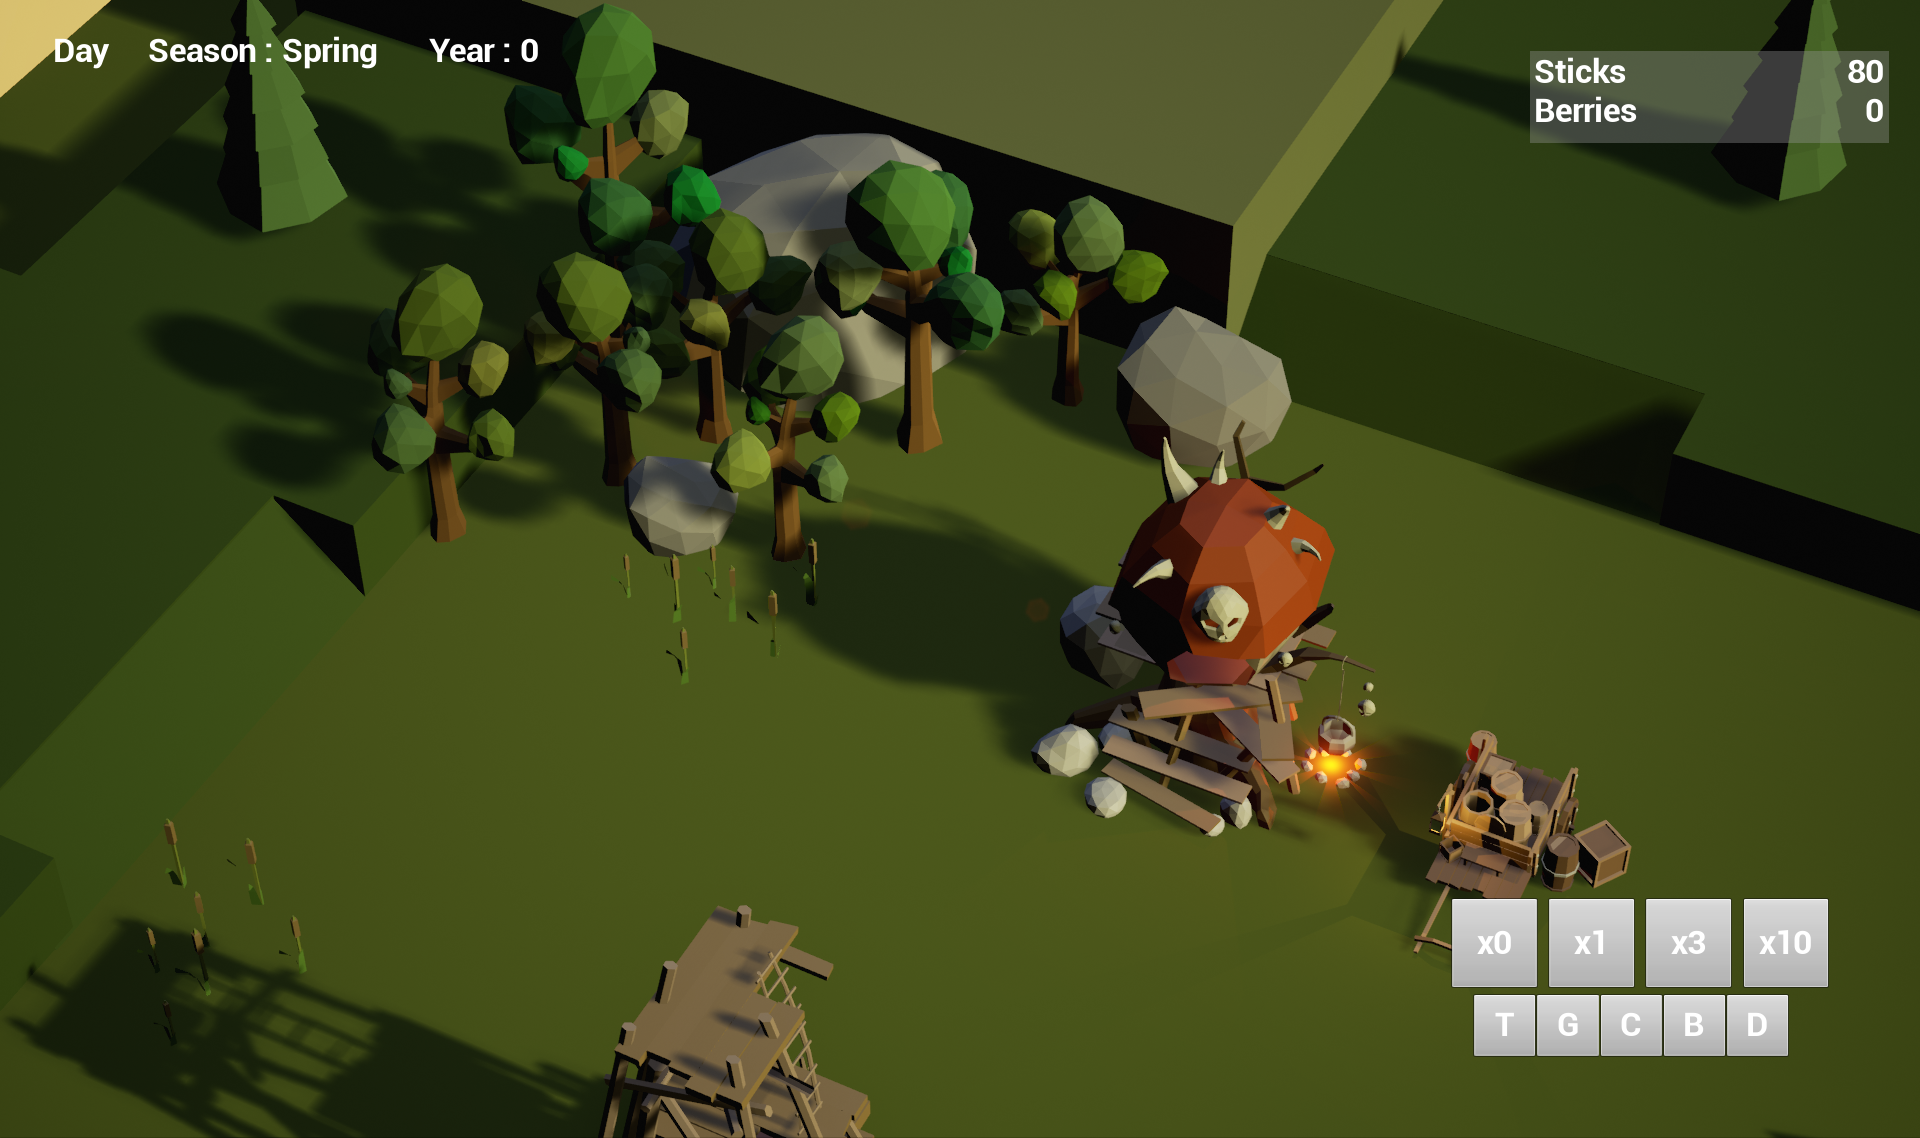
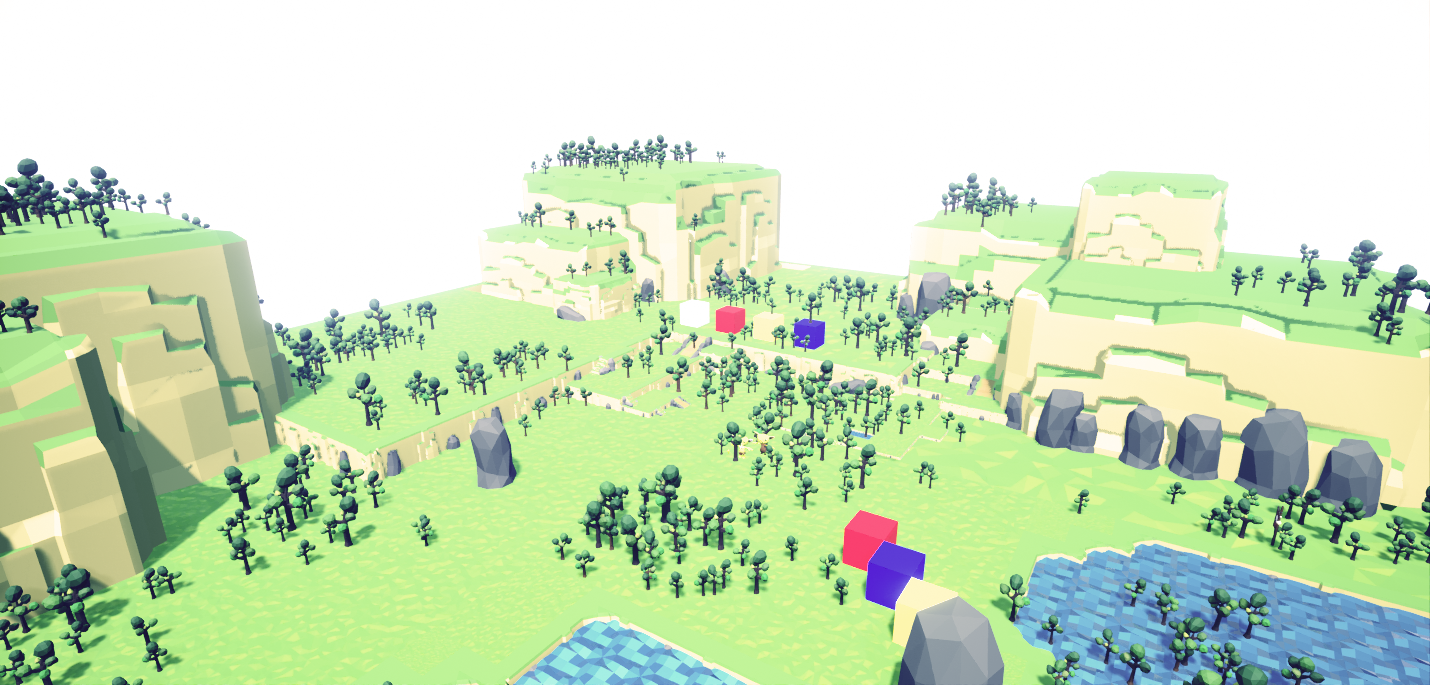
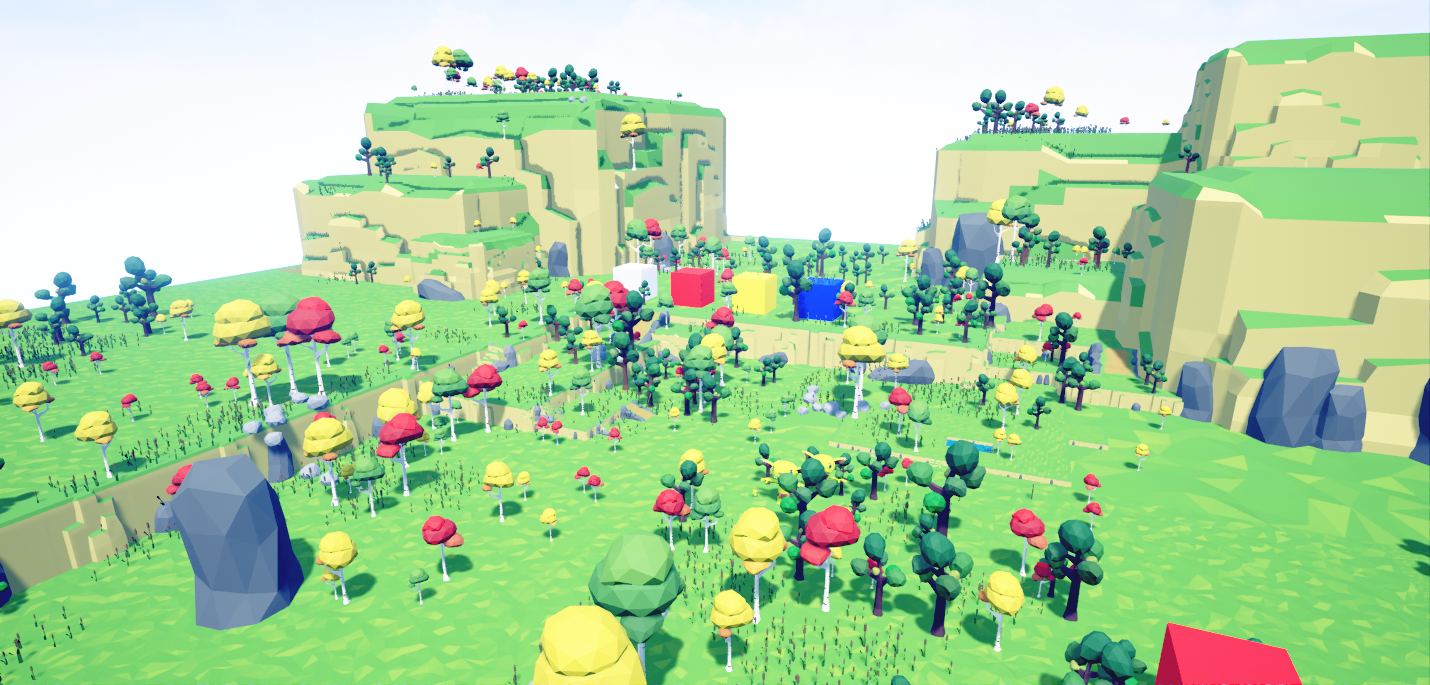
This is a screenshot I took of the game, with some reference cubes of white, yellow, red and blue (should have made one in black I think as well) to use for my colour grading process in photoshop. I used some tutorials for this on youtube and the documentation on Unreal is great.
Here is a before and after
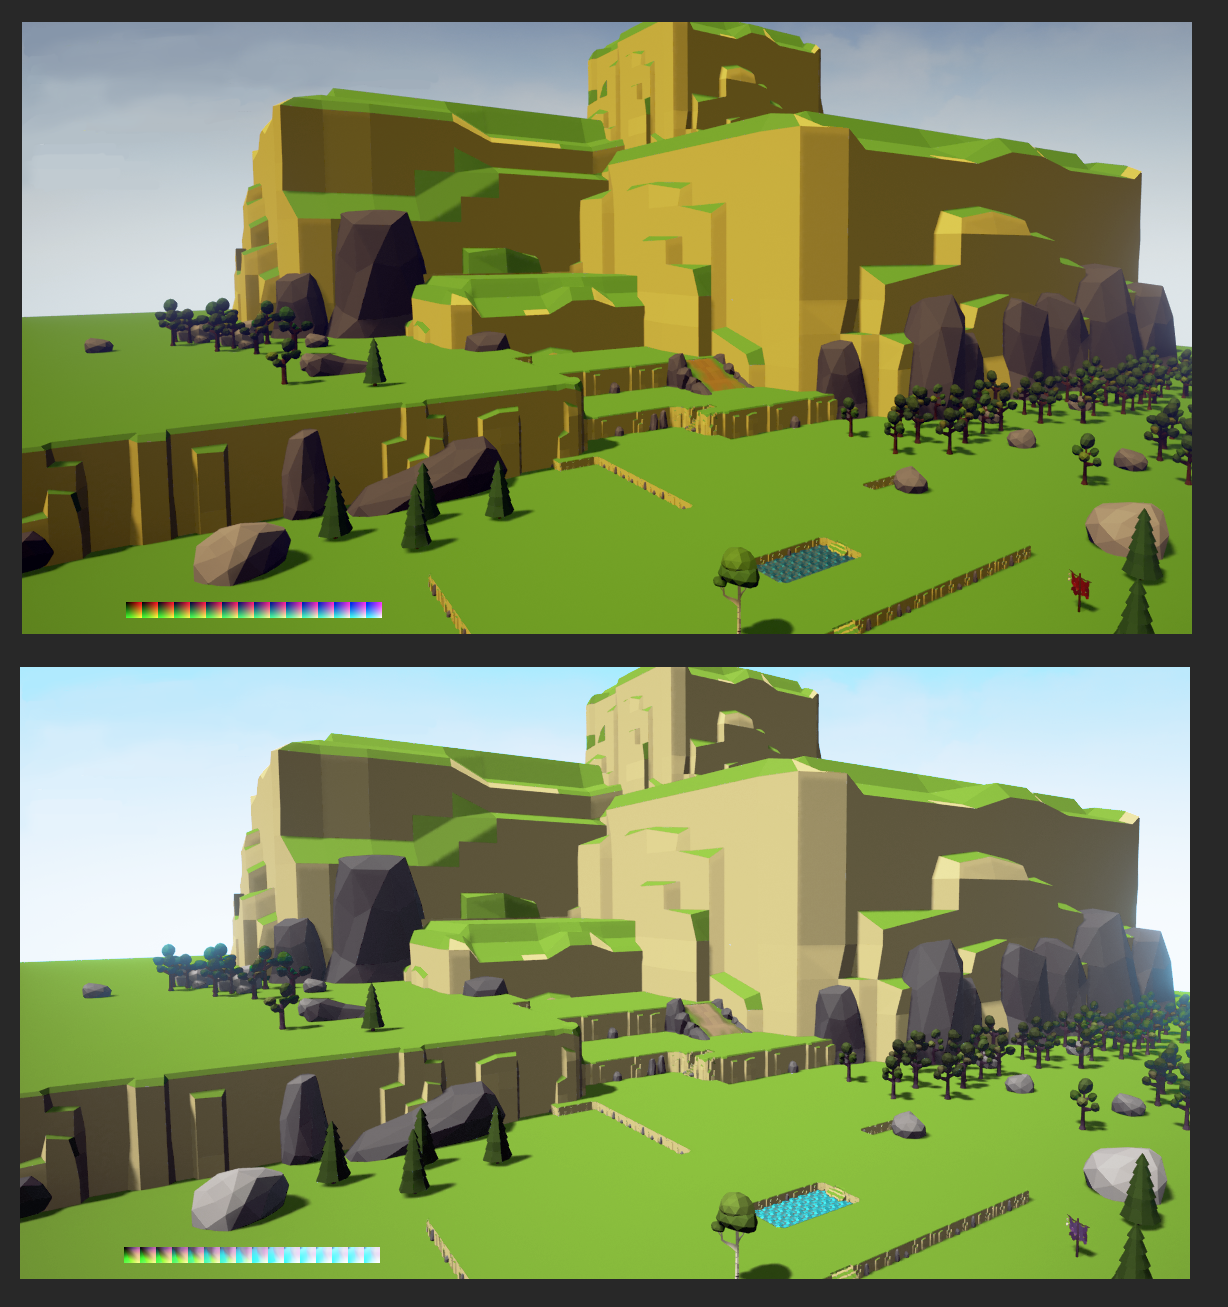
Another before and after in the regular game view
more tweaks and improvements to the colours and post processes for day and night,
At this stage I was finally becoming happy with the look we were getting.
It was time to get rid of some of the lifelessness of the “flat” grass.
Trees and Grass
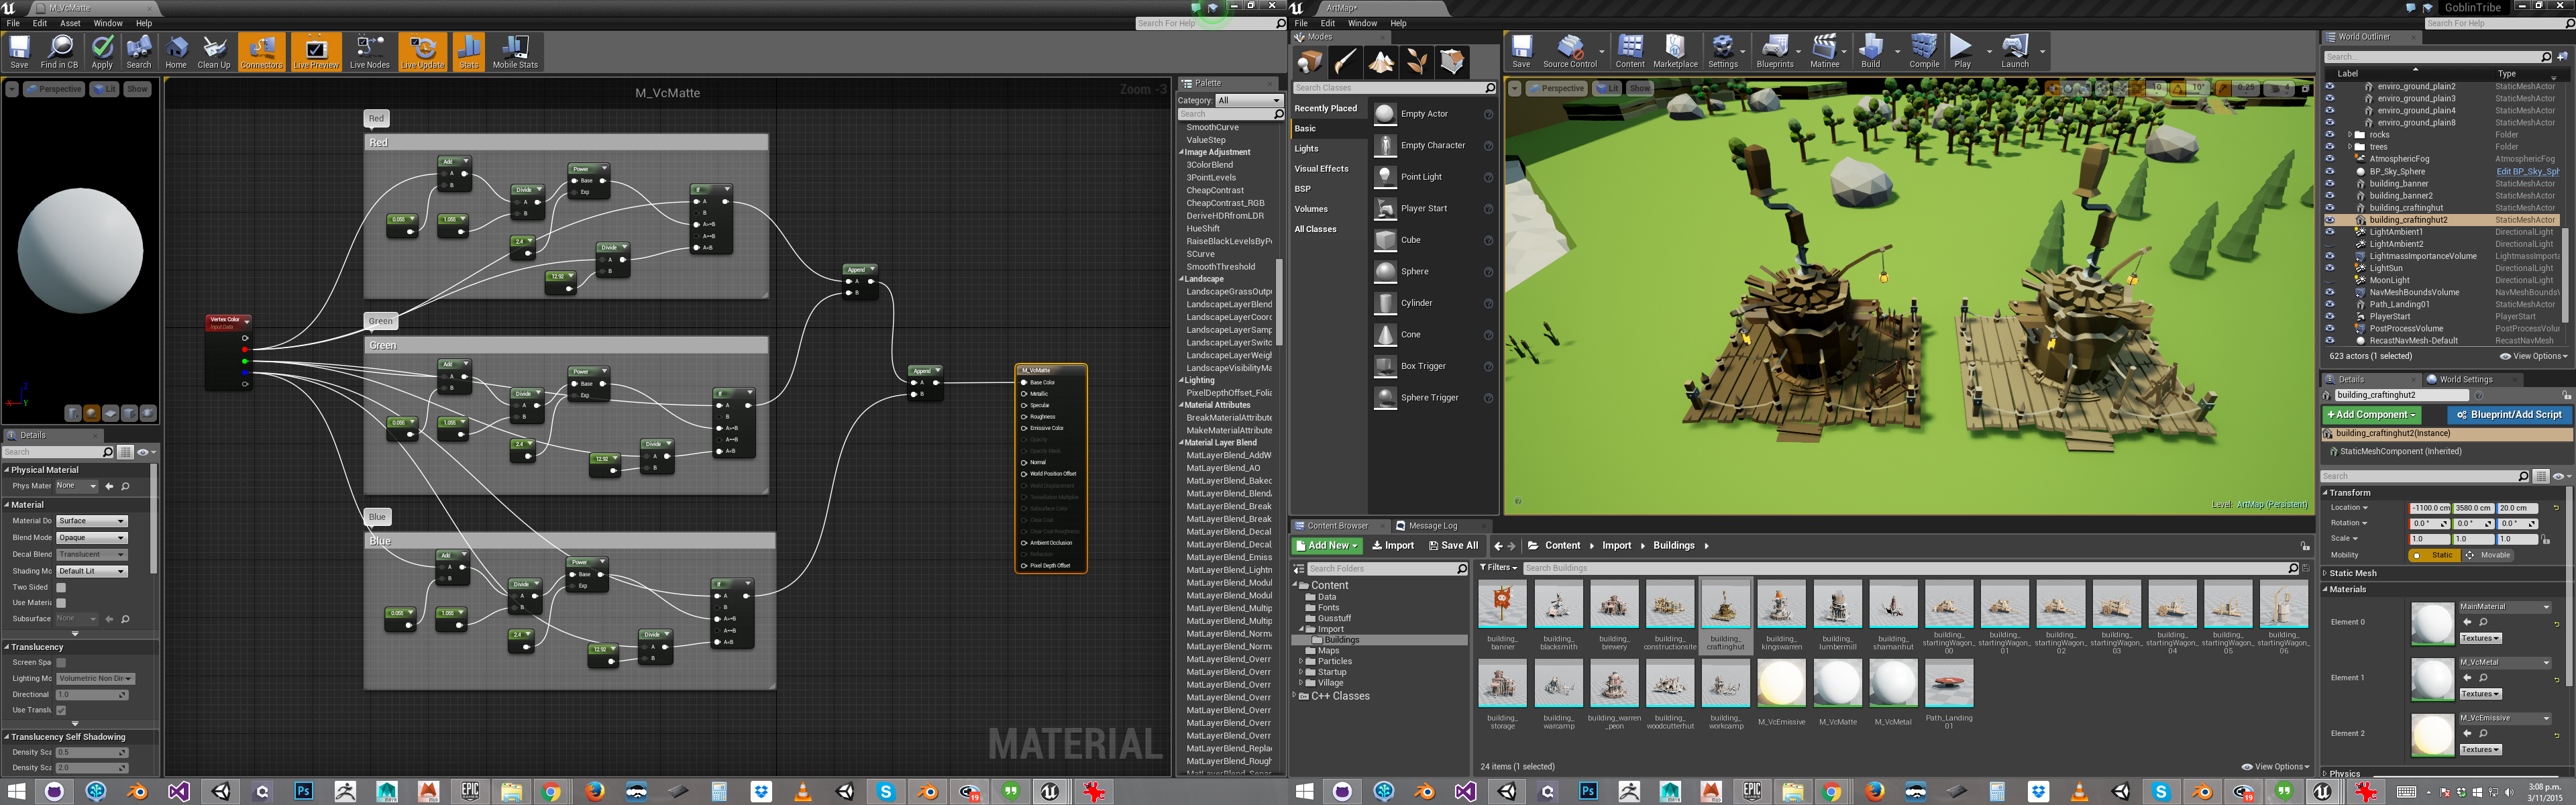
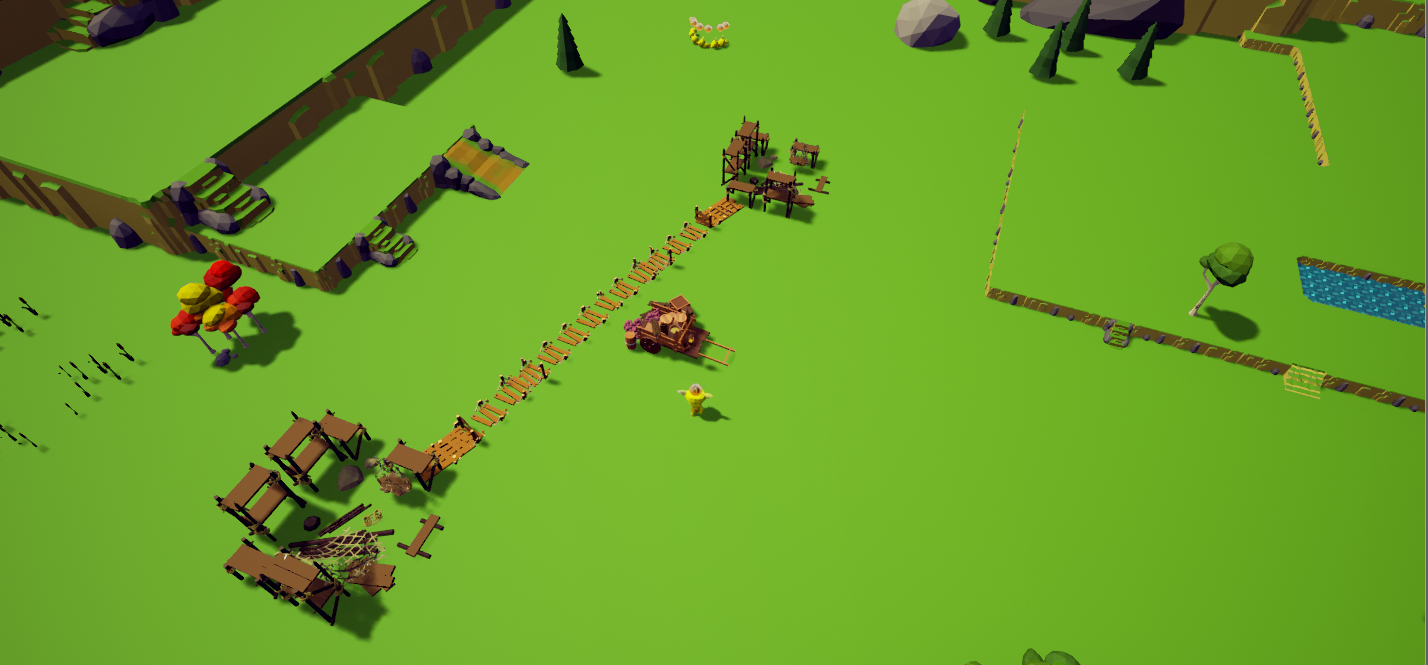
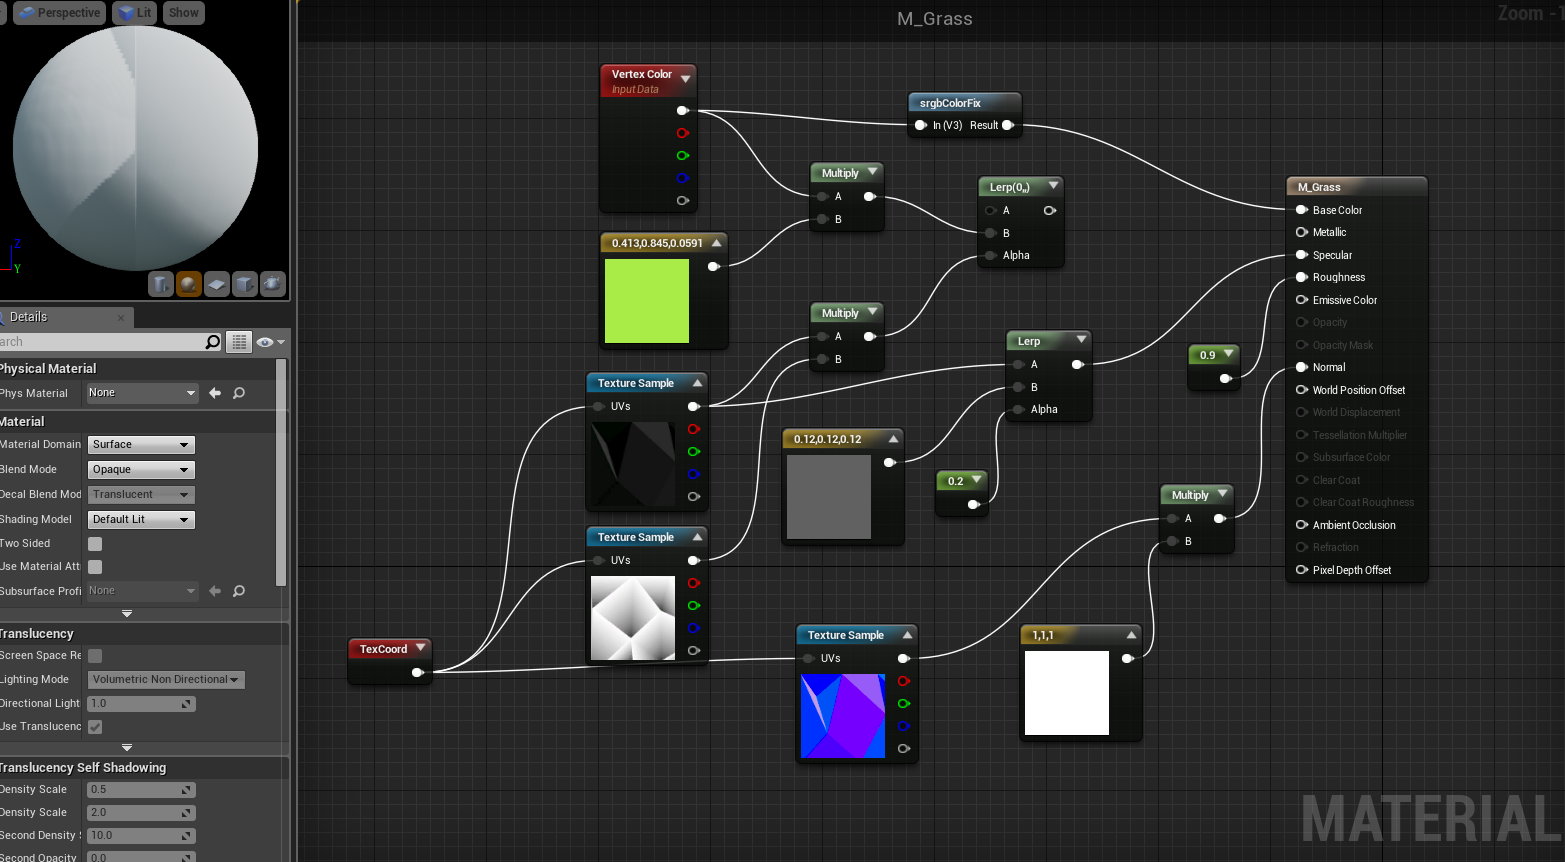
I started playing around with the procedural foliage generator volume in Unreal and we added a texture to the grass material as a shader to create a multicoloured, tessellated low poly texture look to the flat grass surface. Our 3D artist built the shader and I have been playing with some of the variables but it’s not quite there yet.
The foliage generator is great!
The grass material
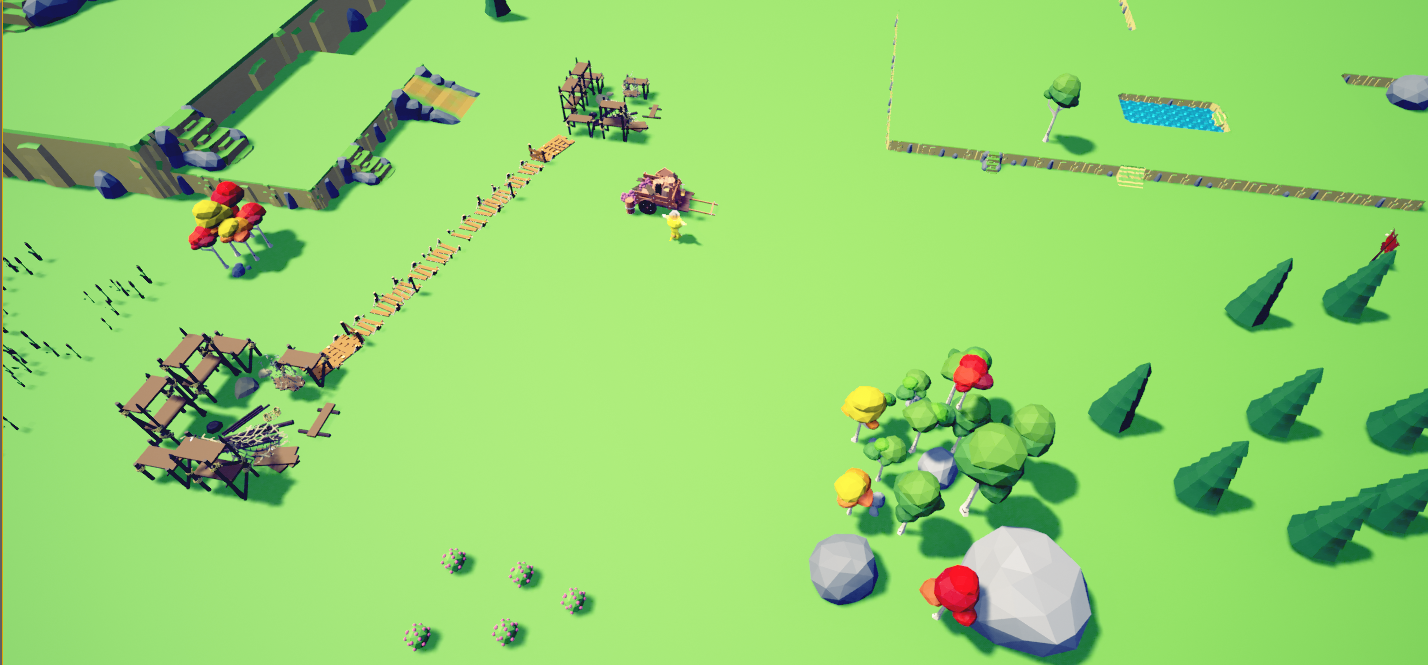
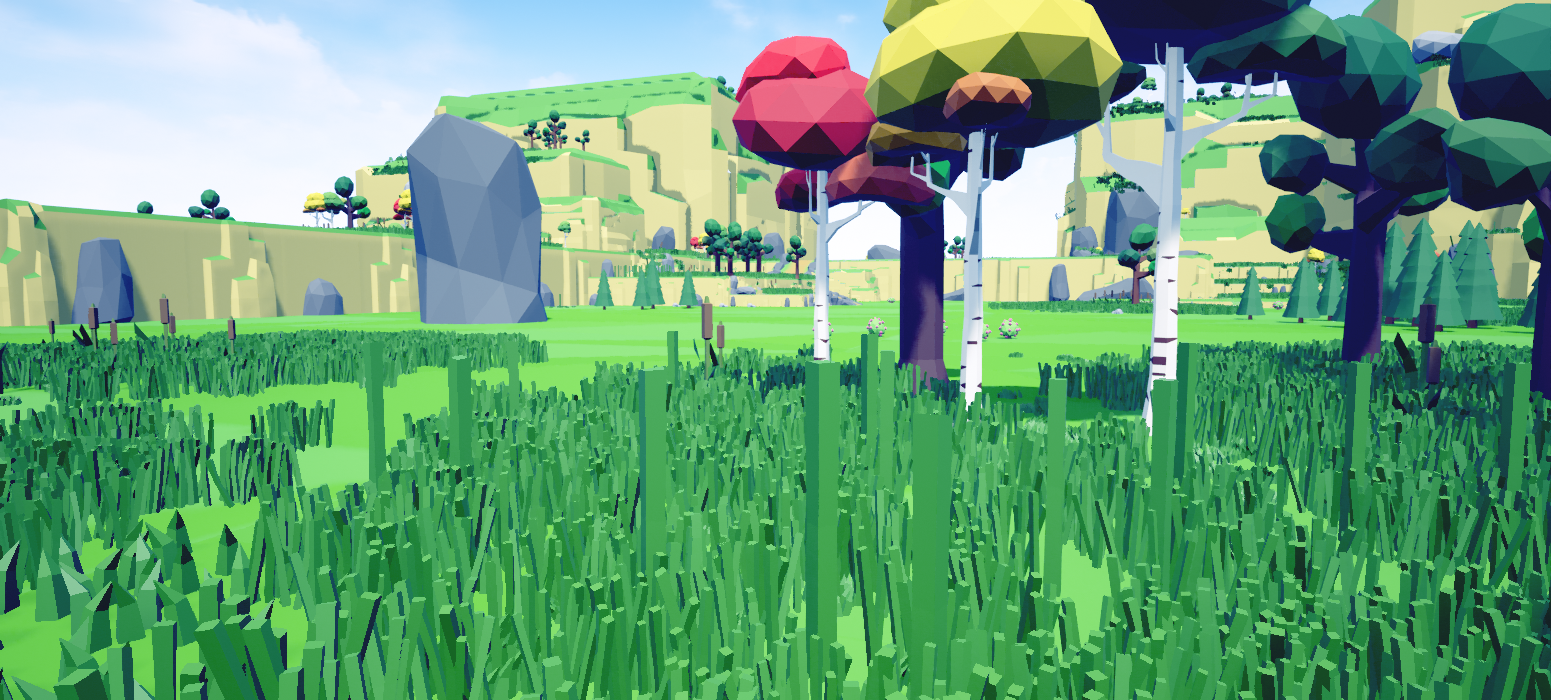
More grass types for the foliage (also added SimpleWind to make them move), better colours
And finally we changed the look of our water and built a new shader for that
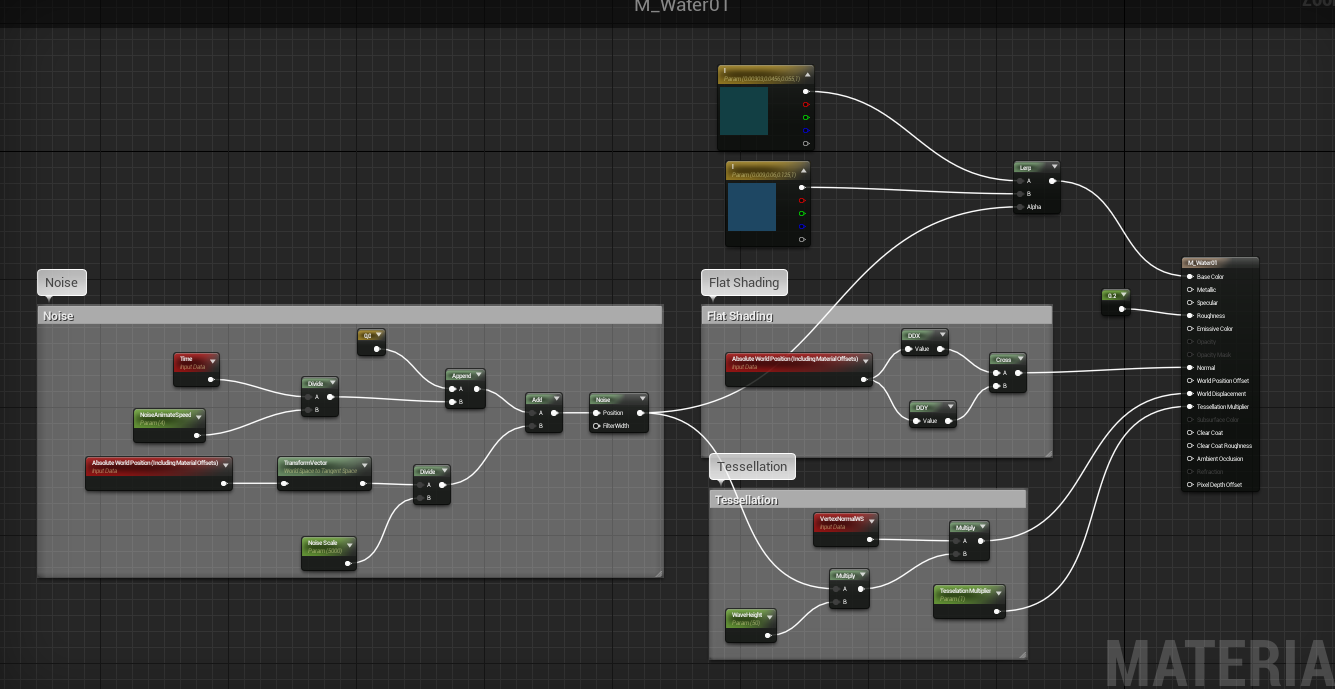
The water material with its tessellation and noise to make it move ever so subtly. From this reference.
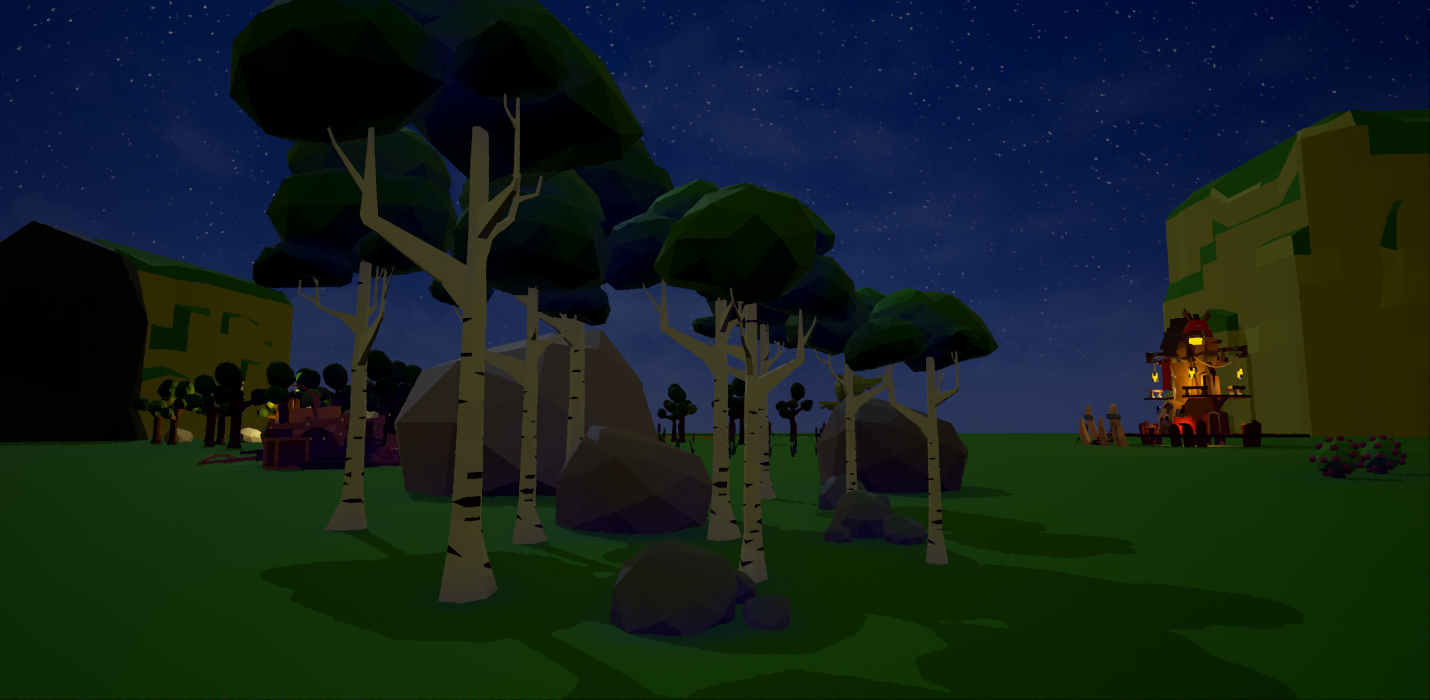
And the world at night…
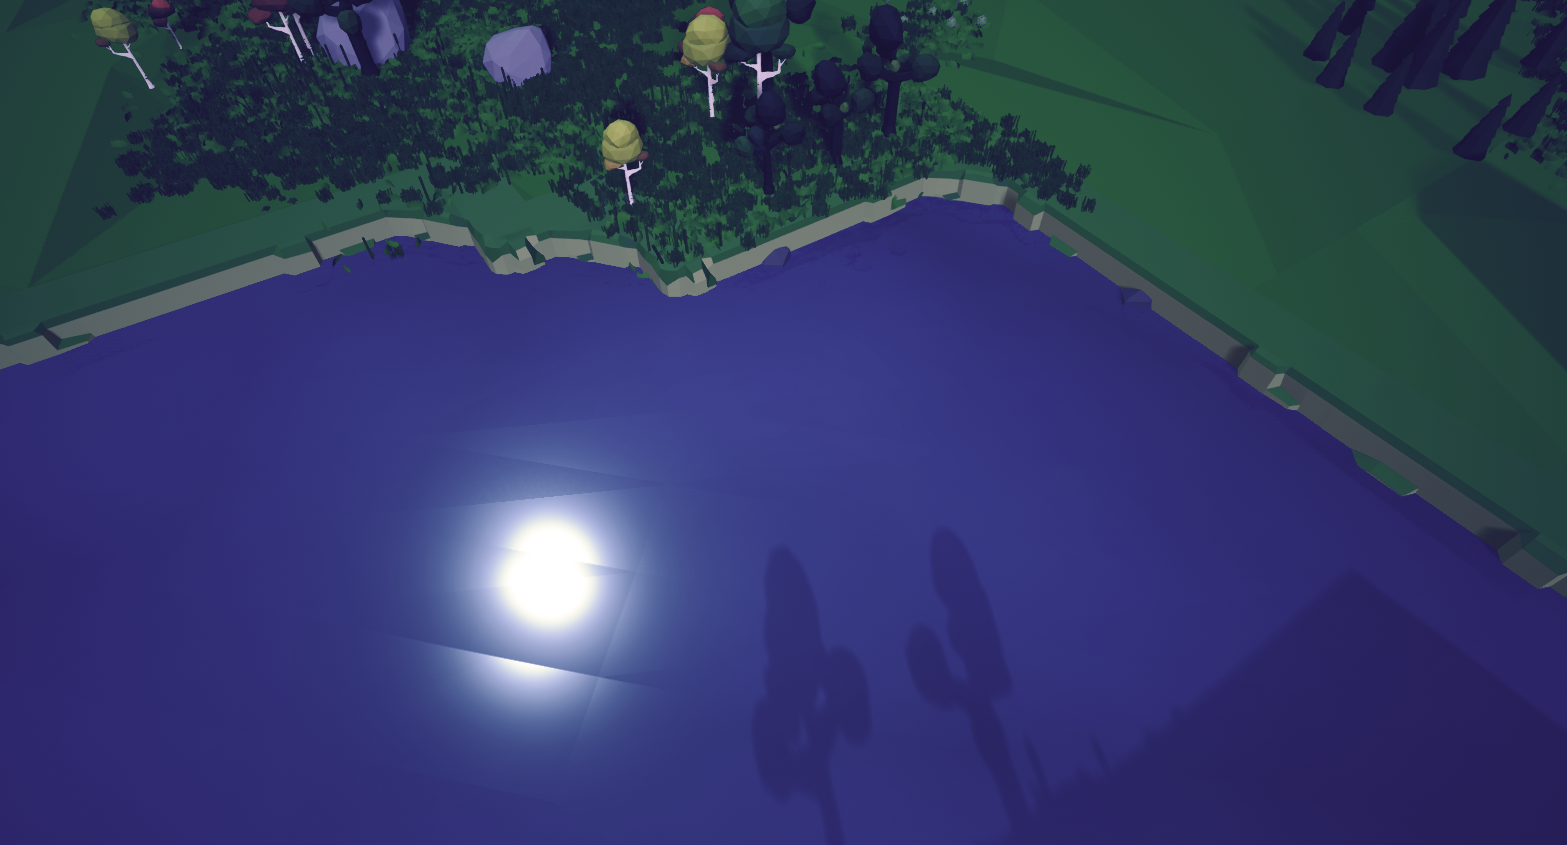
Really coming together but that grass texture needs work…
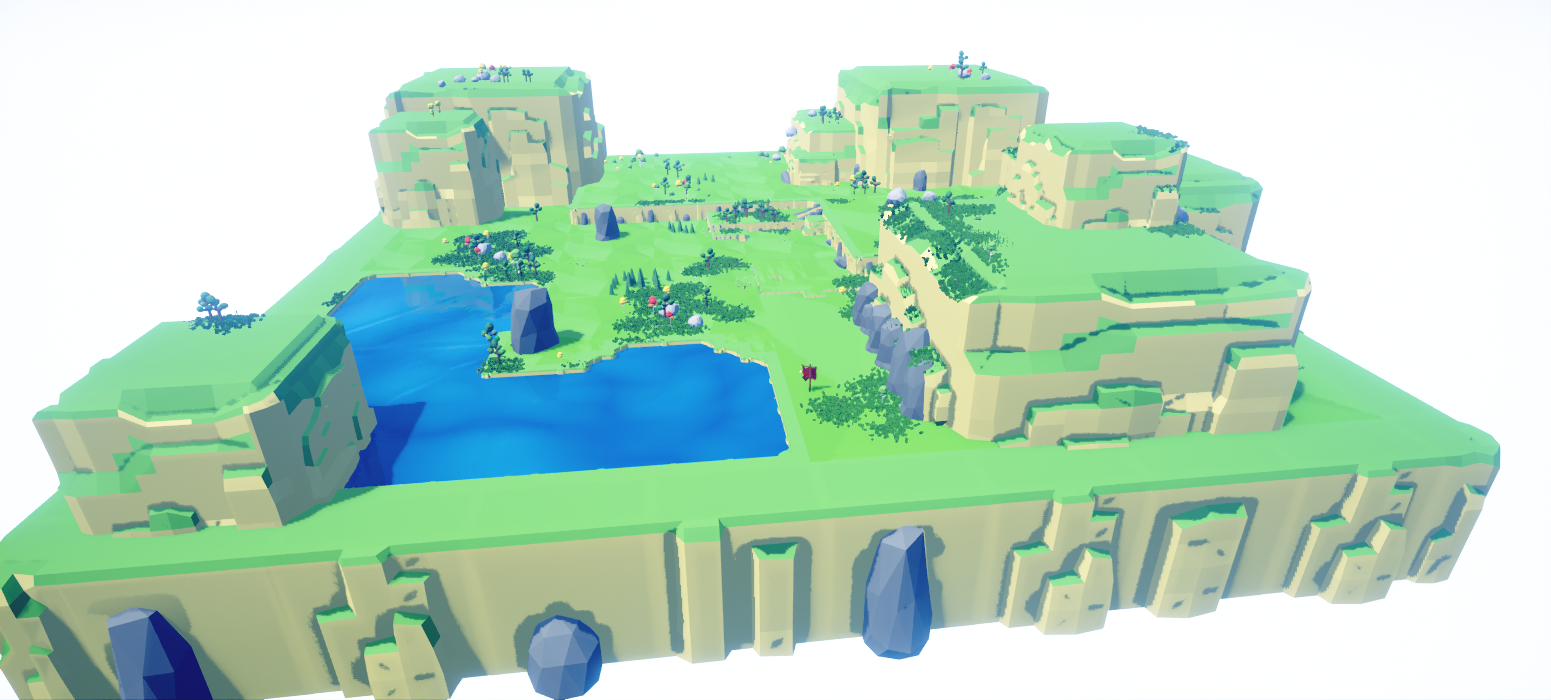
From a distance
Had lots of issues with shadow distance settings between ray cast shadows and cascade, eventually found some distances that work, but I suspect we will need to do a lot more work to resolve these. you can see the strange AO shadowing around everything happening here at this distance.
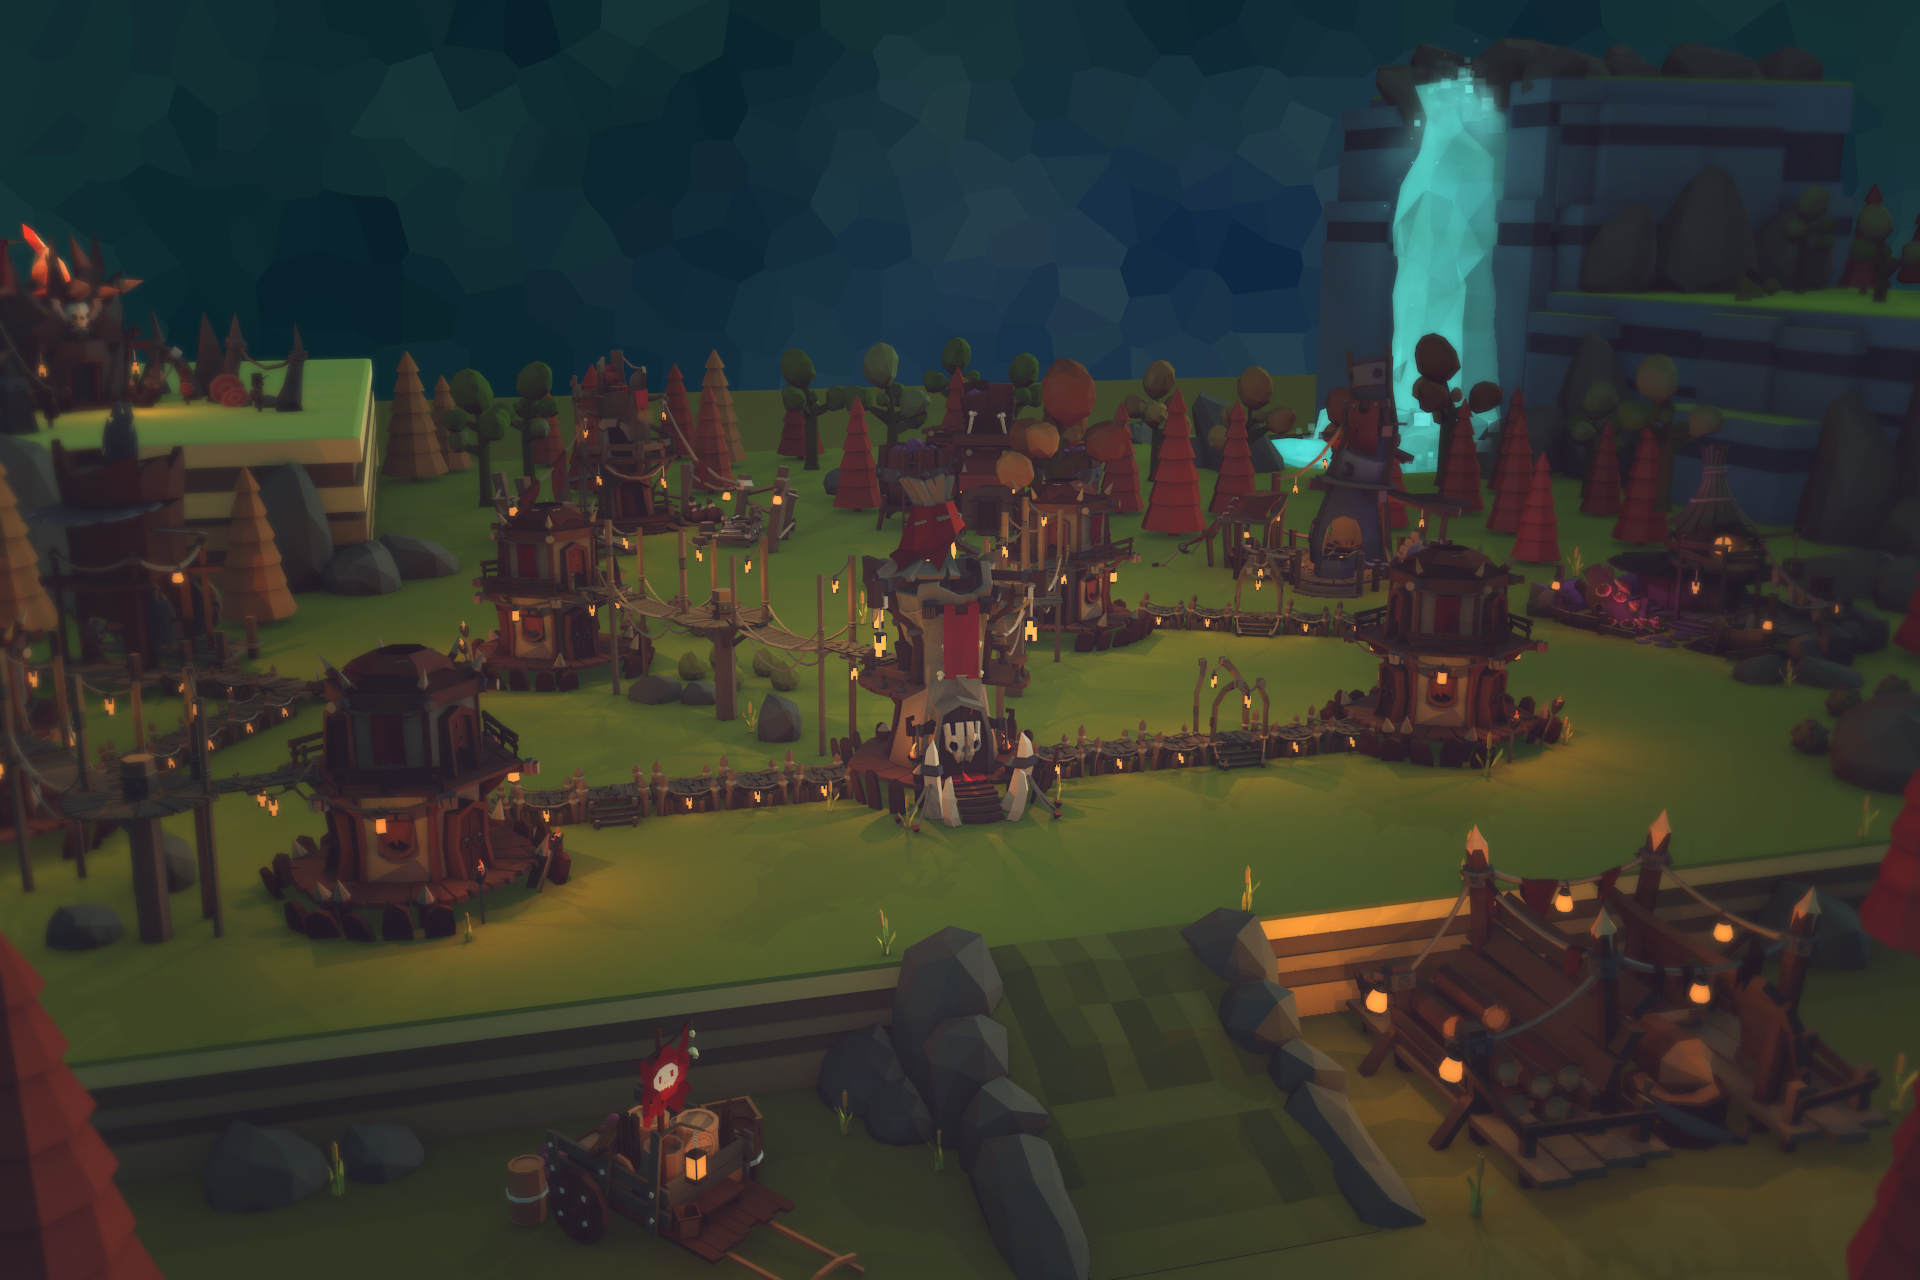
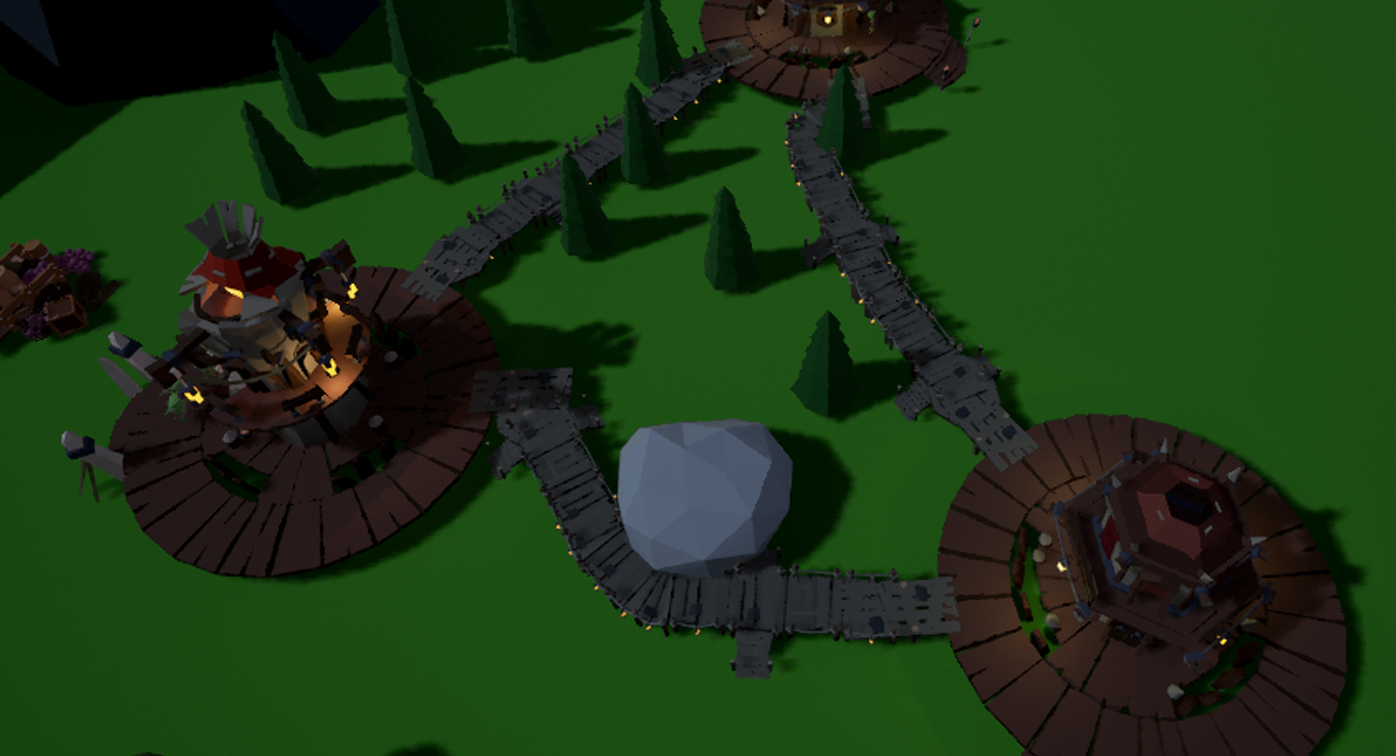
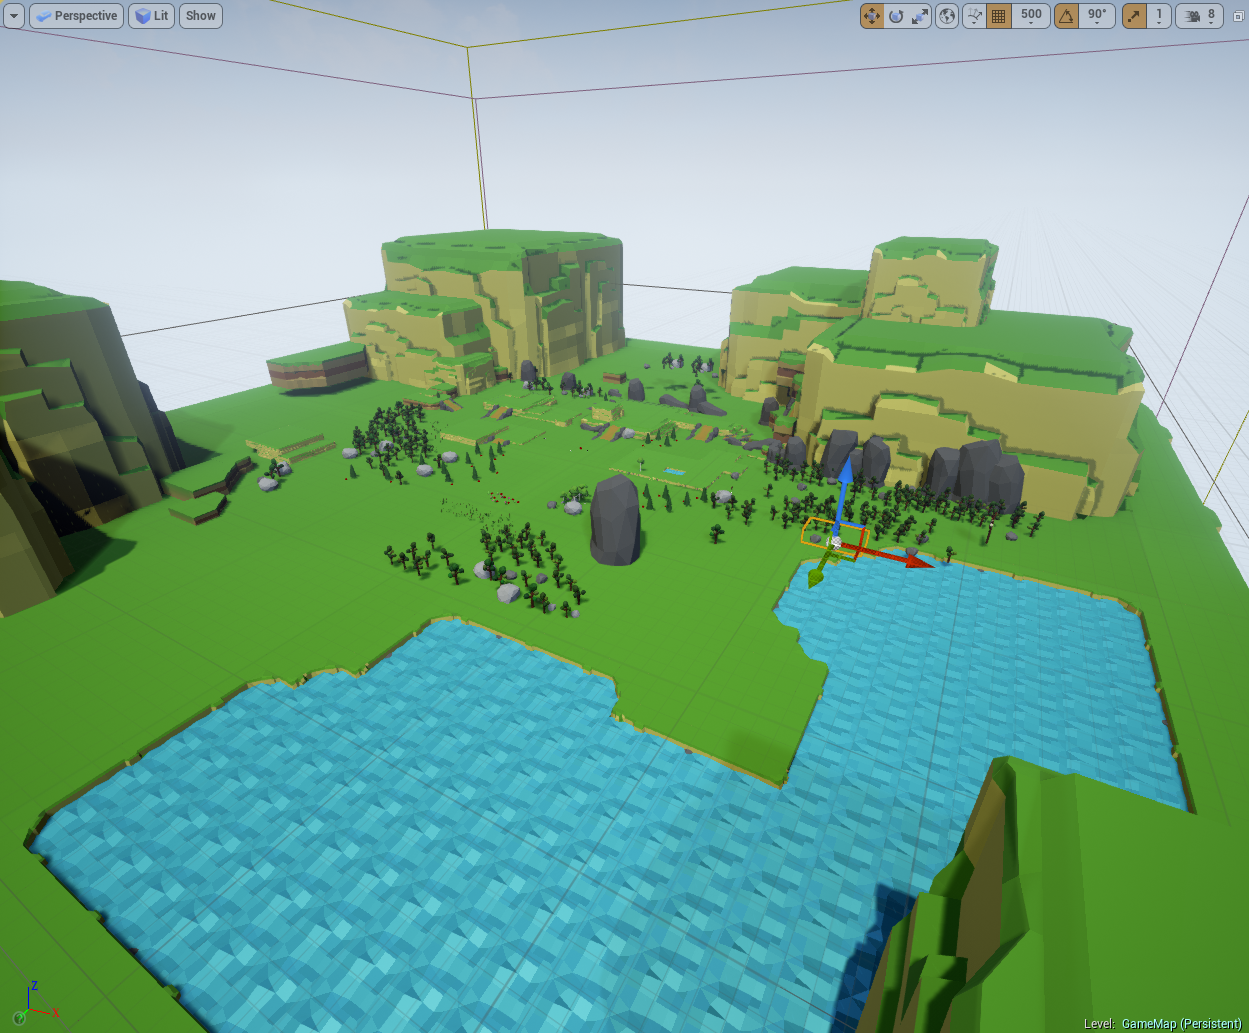
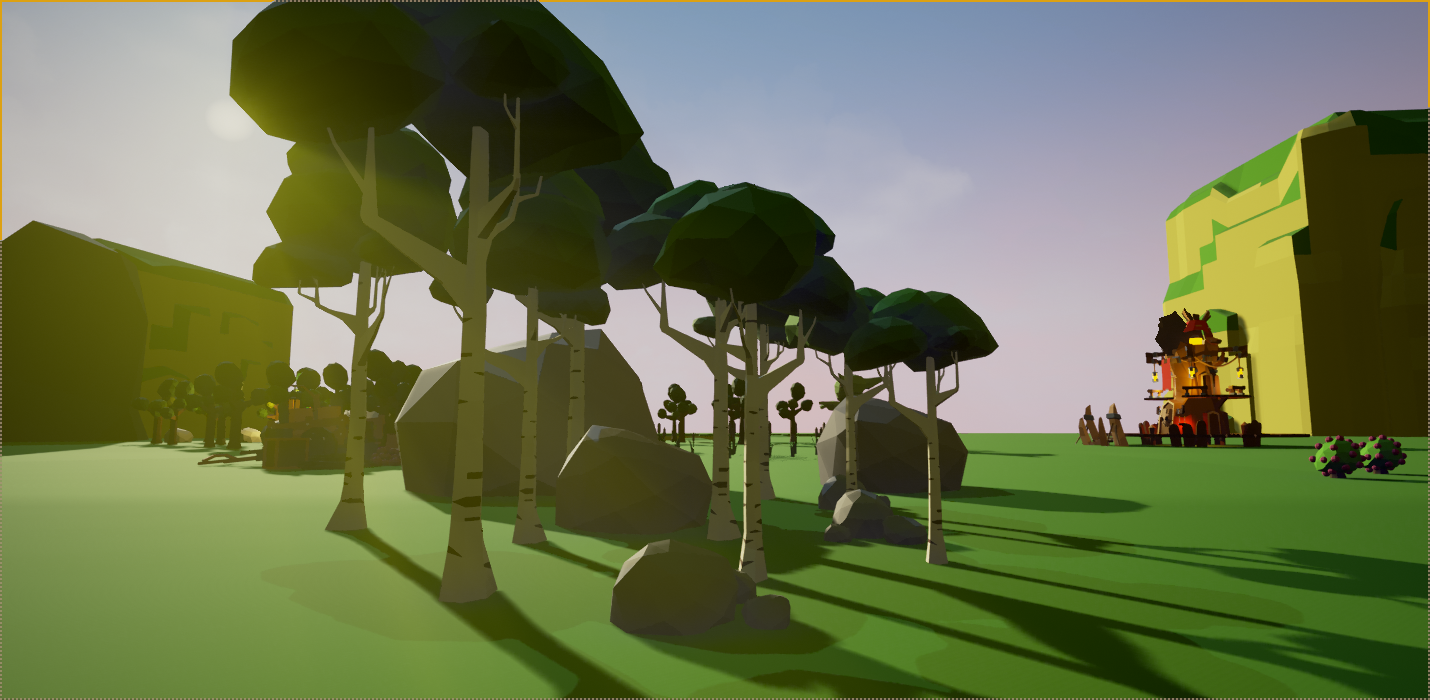
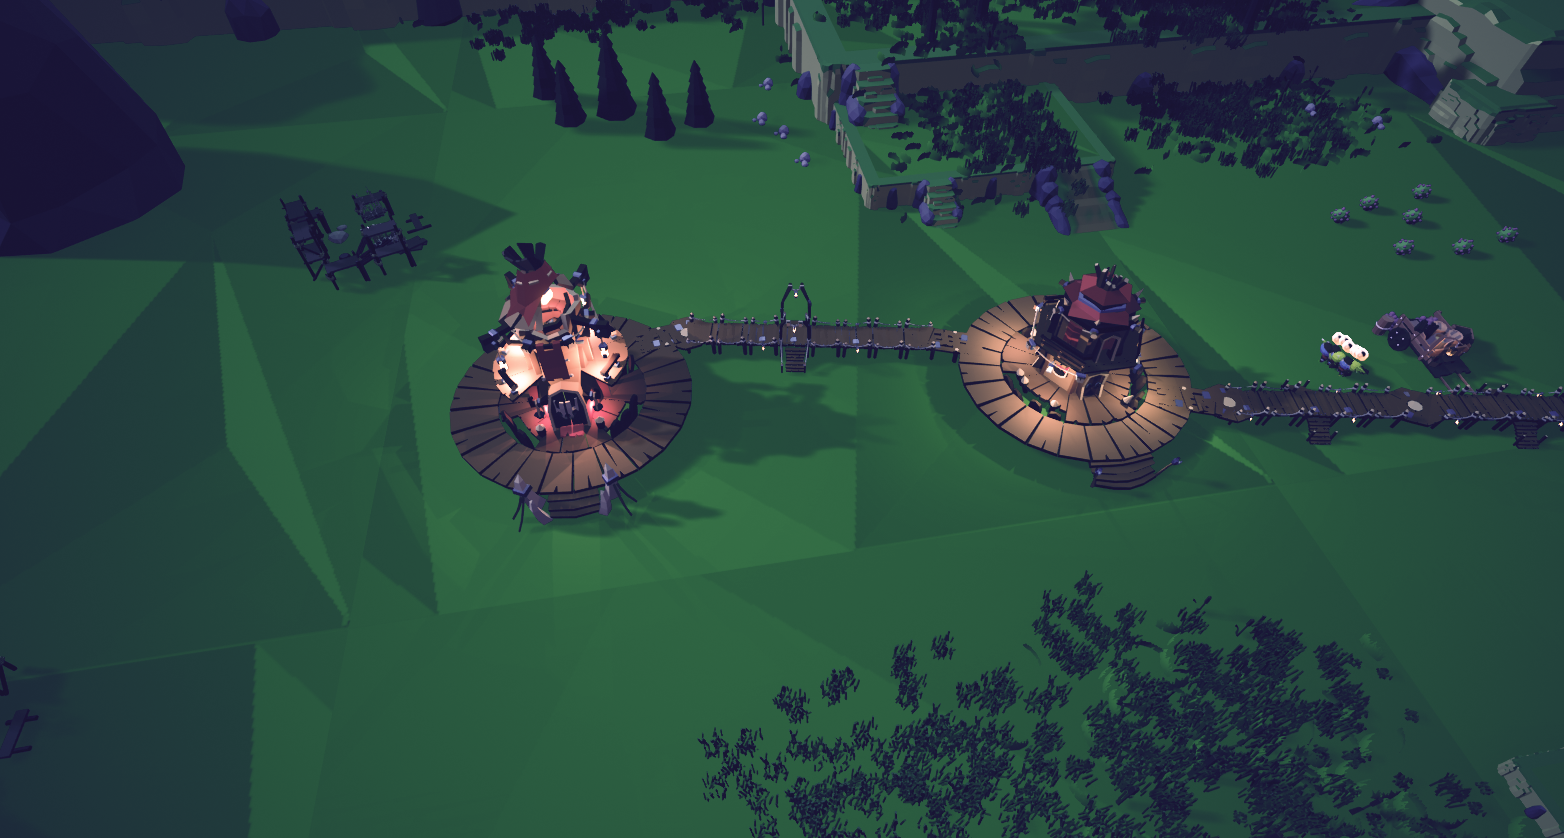
And then finally, what the game looks like today:
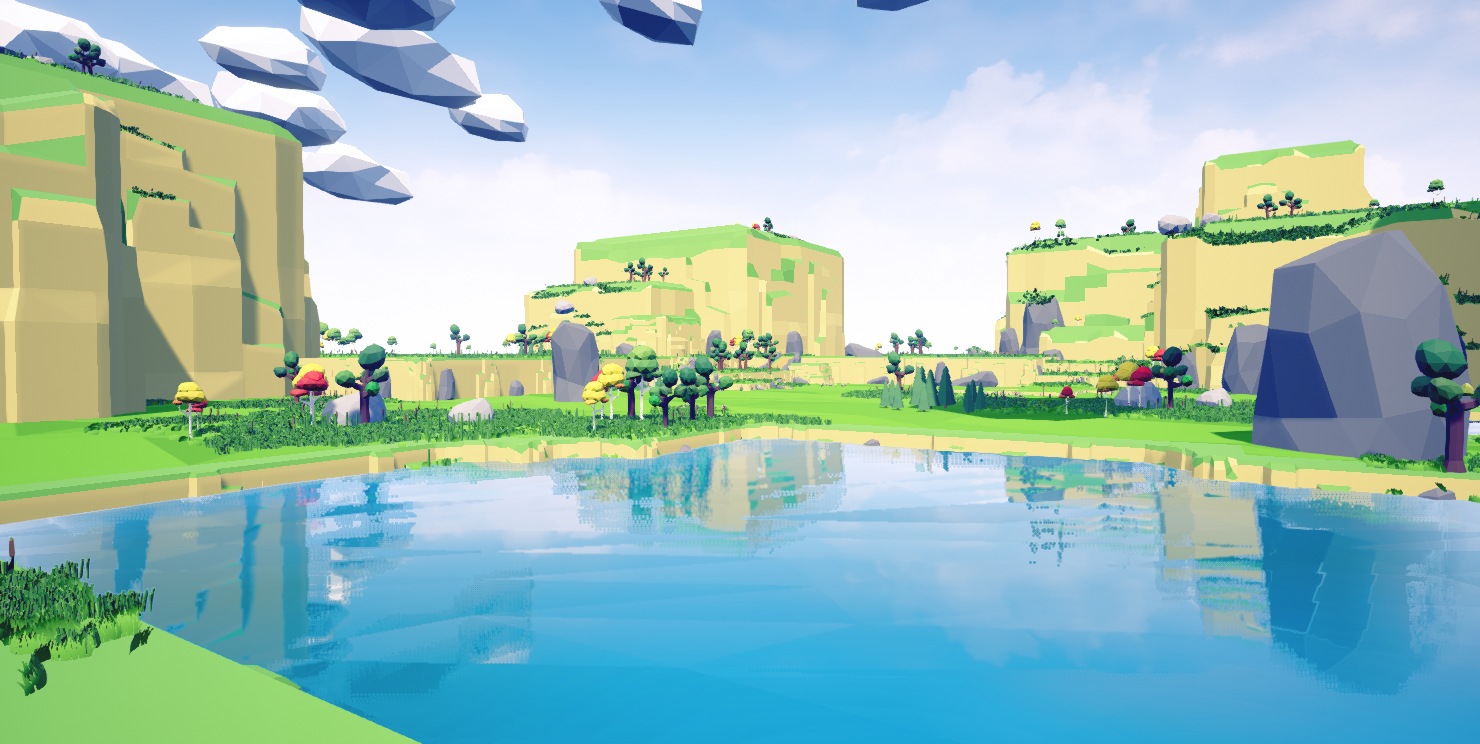
I’m really glad with what we’ve got going so far but we still have some way to go to get the environment exactly to where we want.
World
The world map has gone through a few concepts since we began. This is a very underdeveloped section of the game and will get a lot more attention much later on. I’ll repost about it again when we have worked on it some more.
Here are some initial concepts:

Flat 2D
very simple 3D low poly

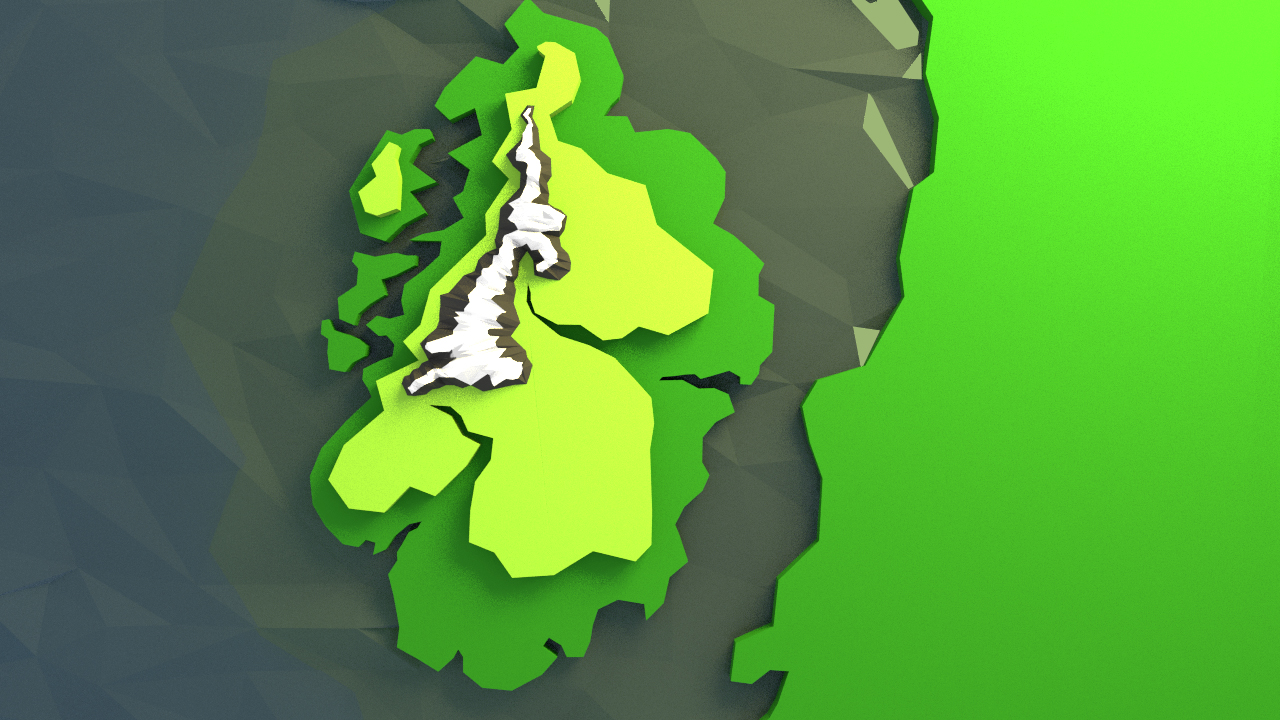
low poly ocean with topological “cut out” flat world and a sun
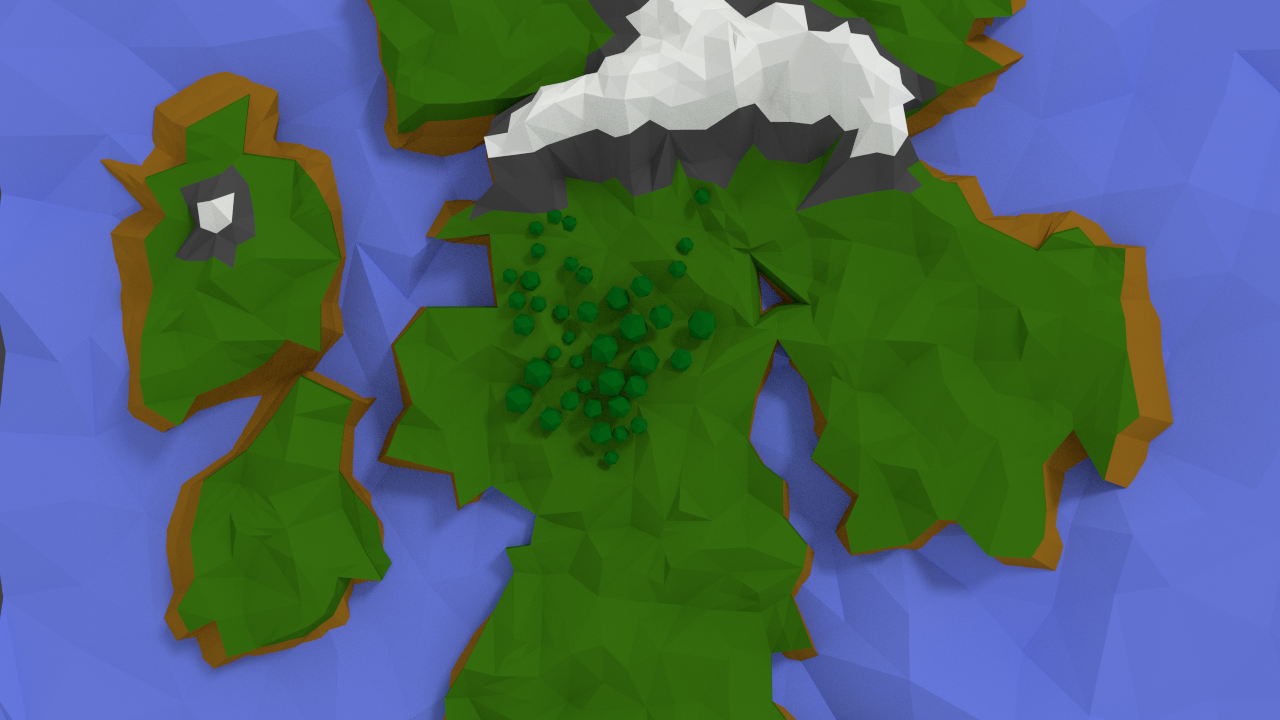
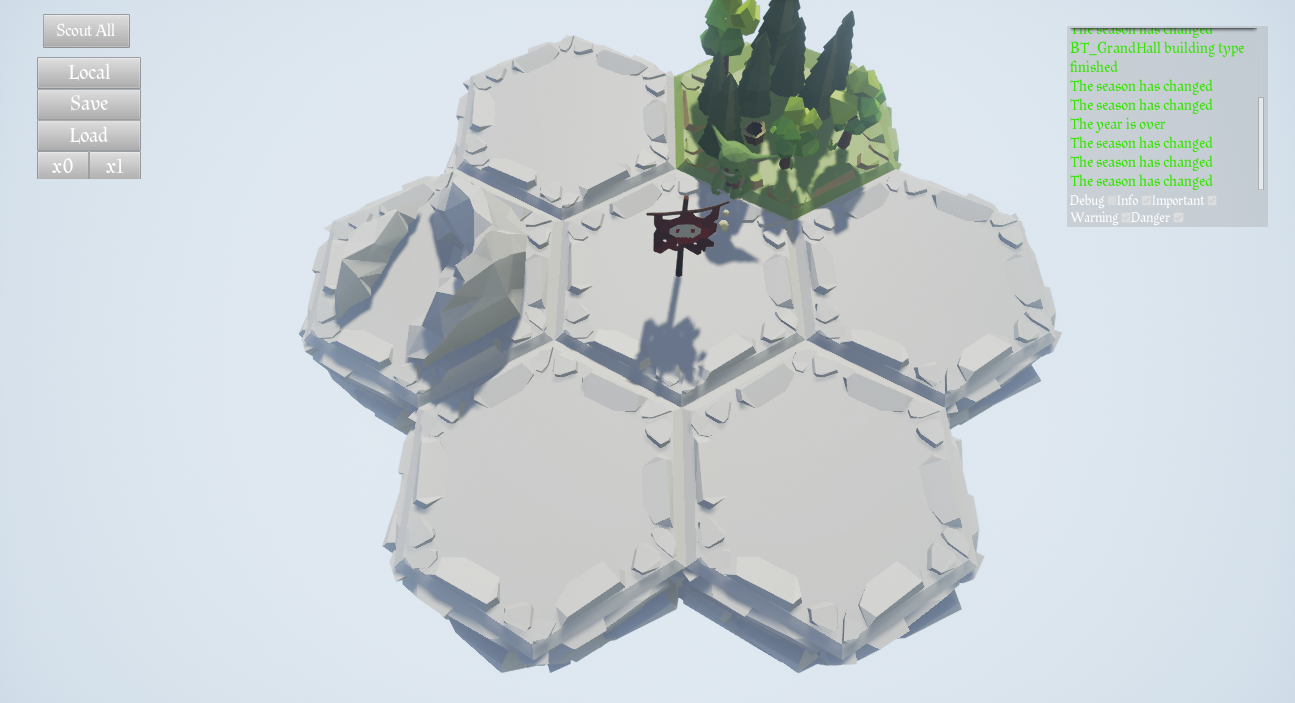
Finally we decided to go with a world made out of Hexes to better suit a procedurally generated approach. Smaller world space with more replayability. Our 3D artist built these awesome hex cubes to try out a system for it.
A few map sizes. The pieces without colour are undiscovered hexes.
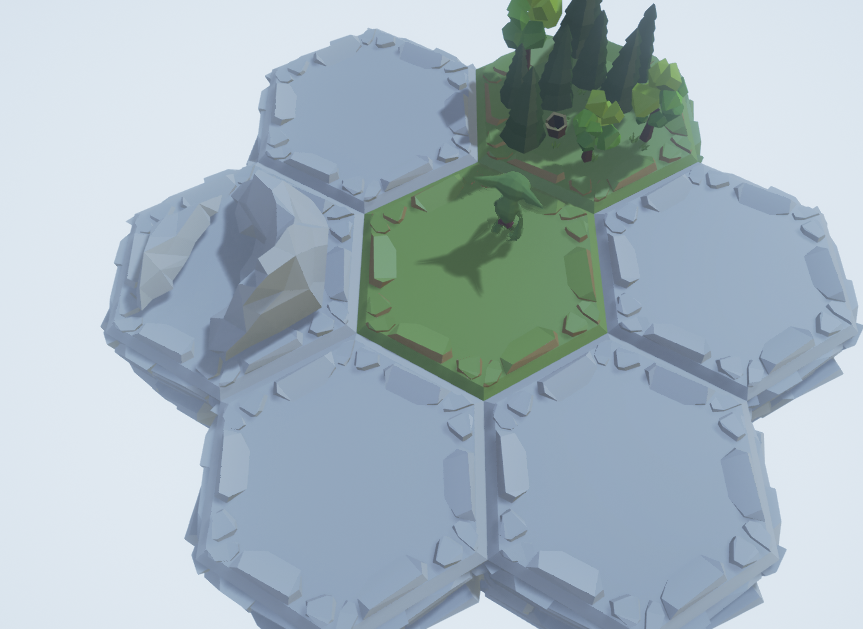
Returning from the scouting trek
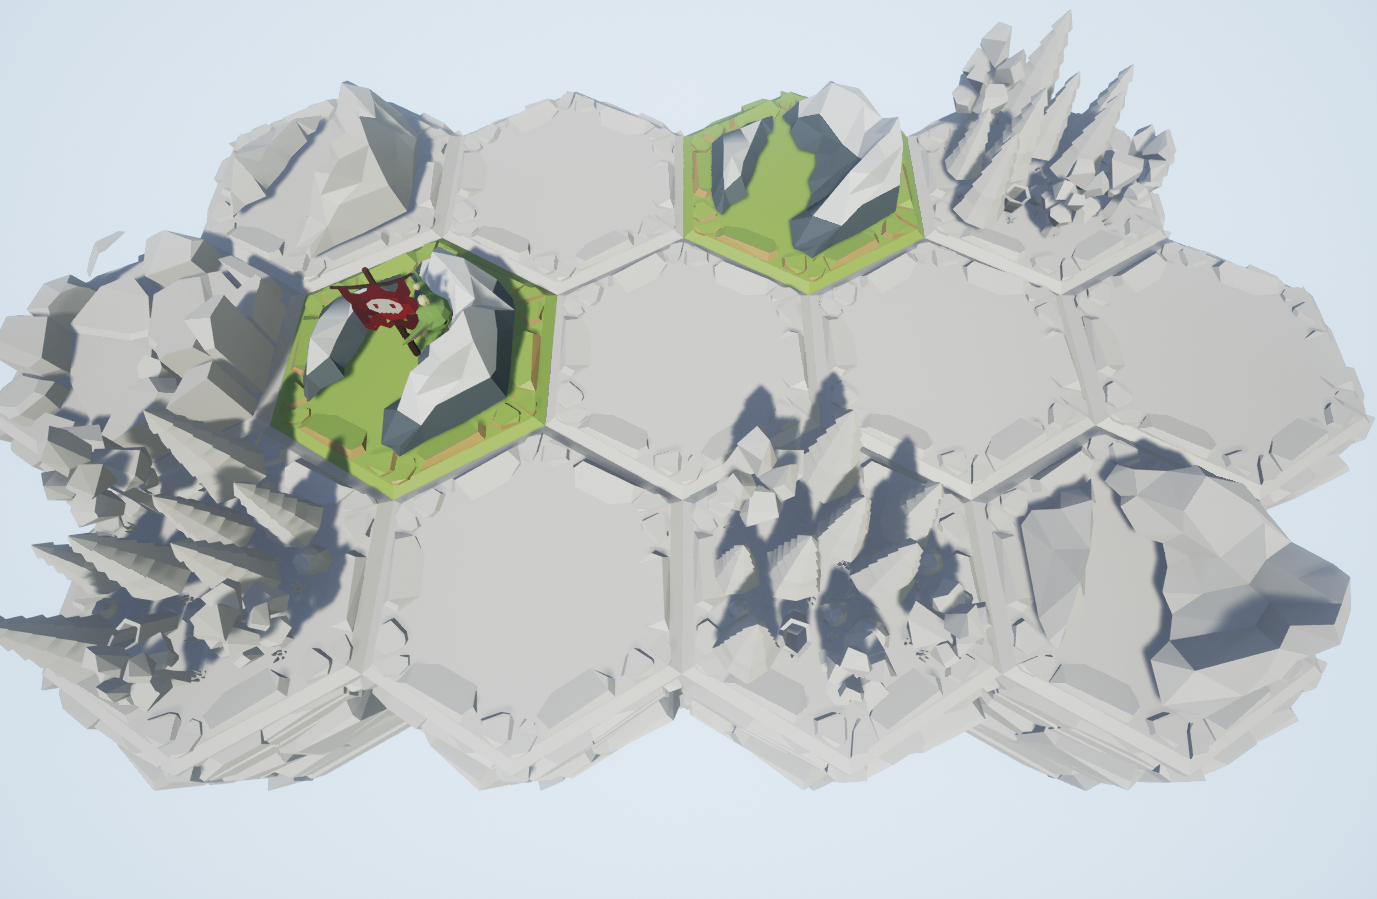
A larger map
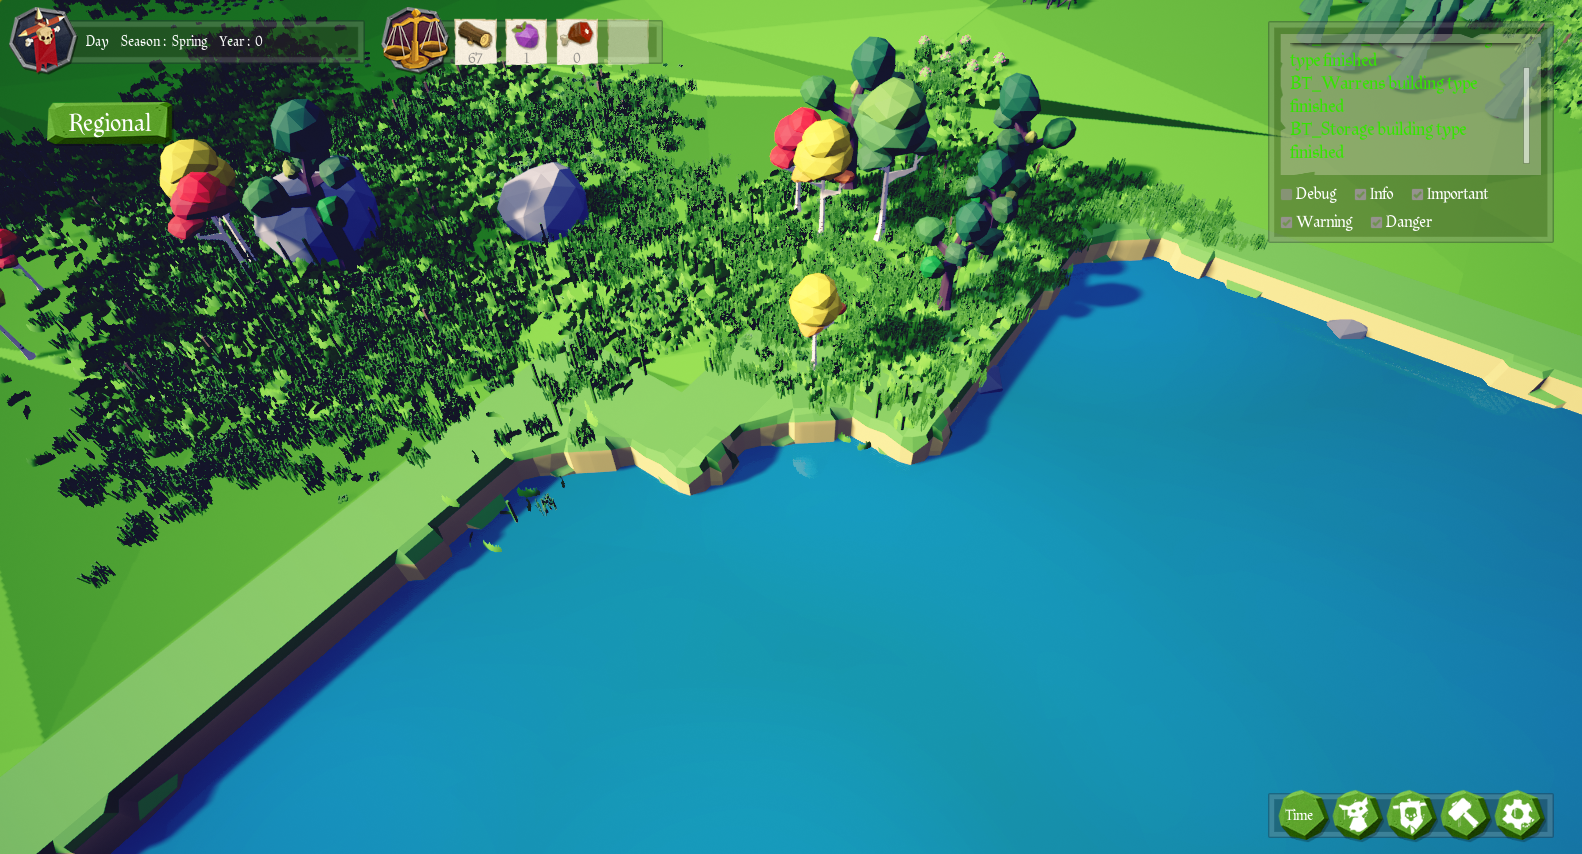
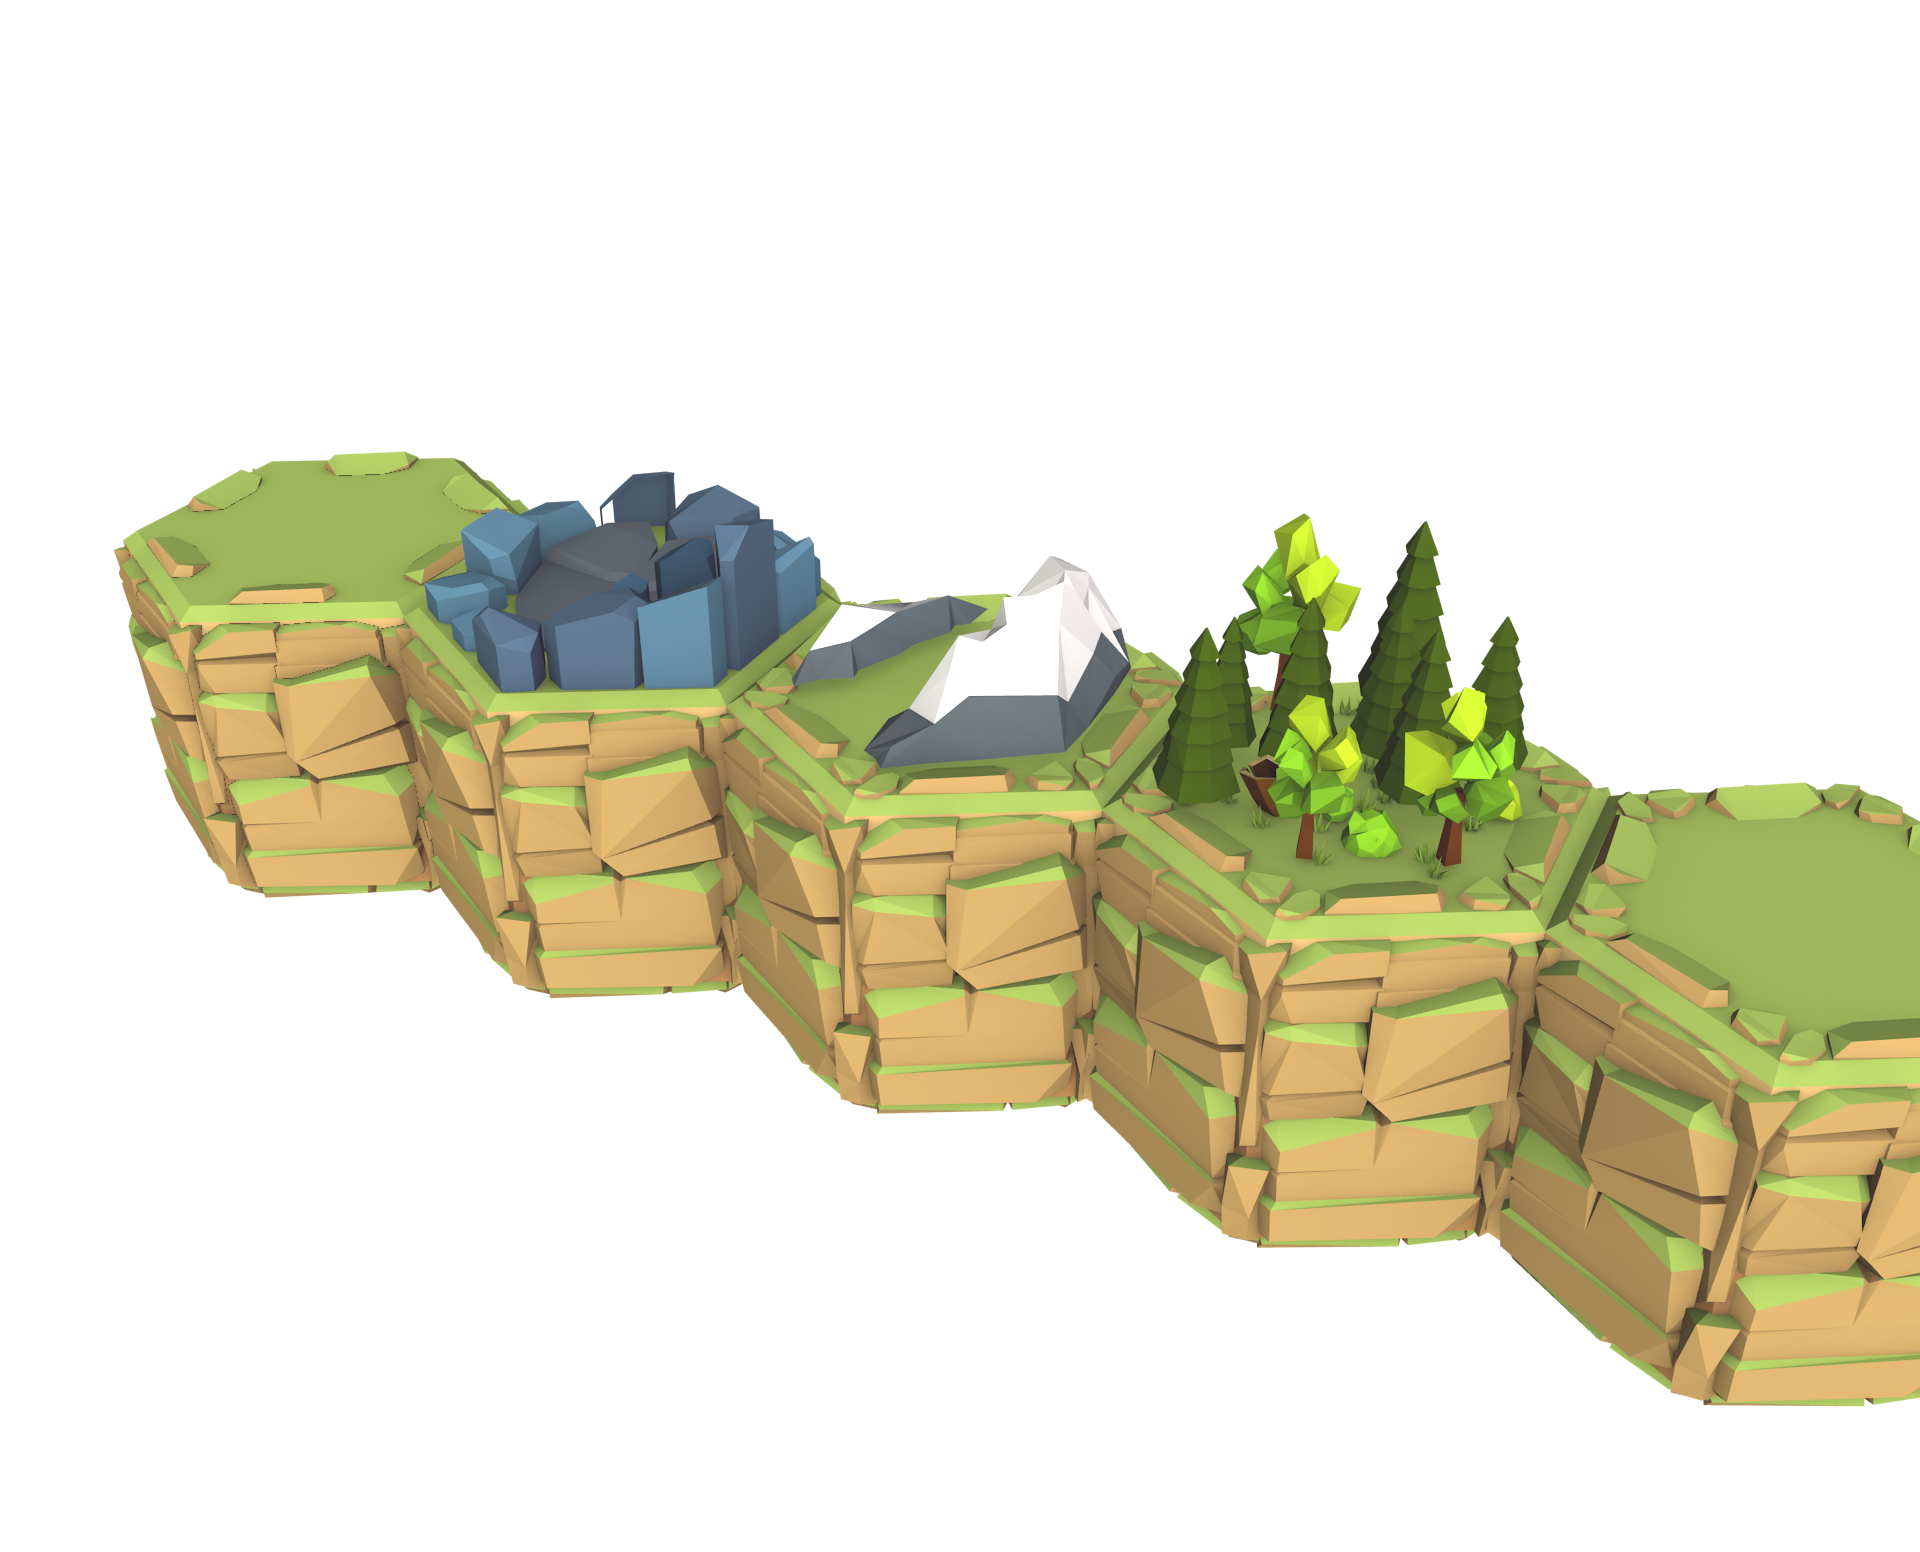
What it looks like today, in game
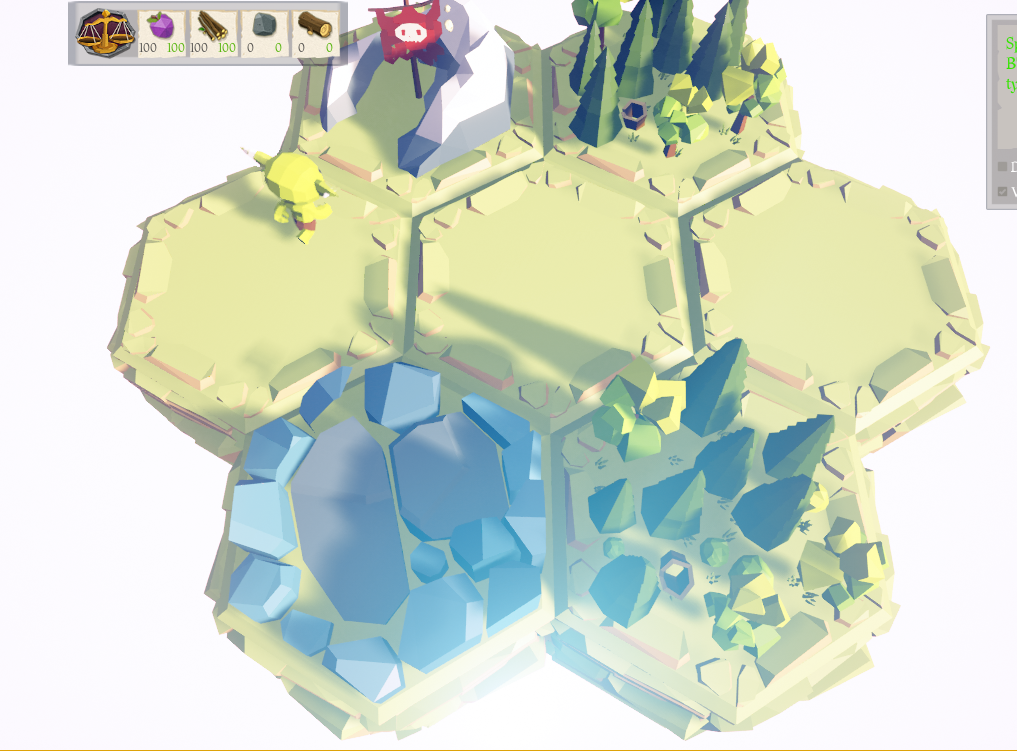
Day

Night (still have to deal with the sun one day :P)
Well that’s it for this post. I’ll be posting about the buildings in the next part
Cheers